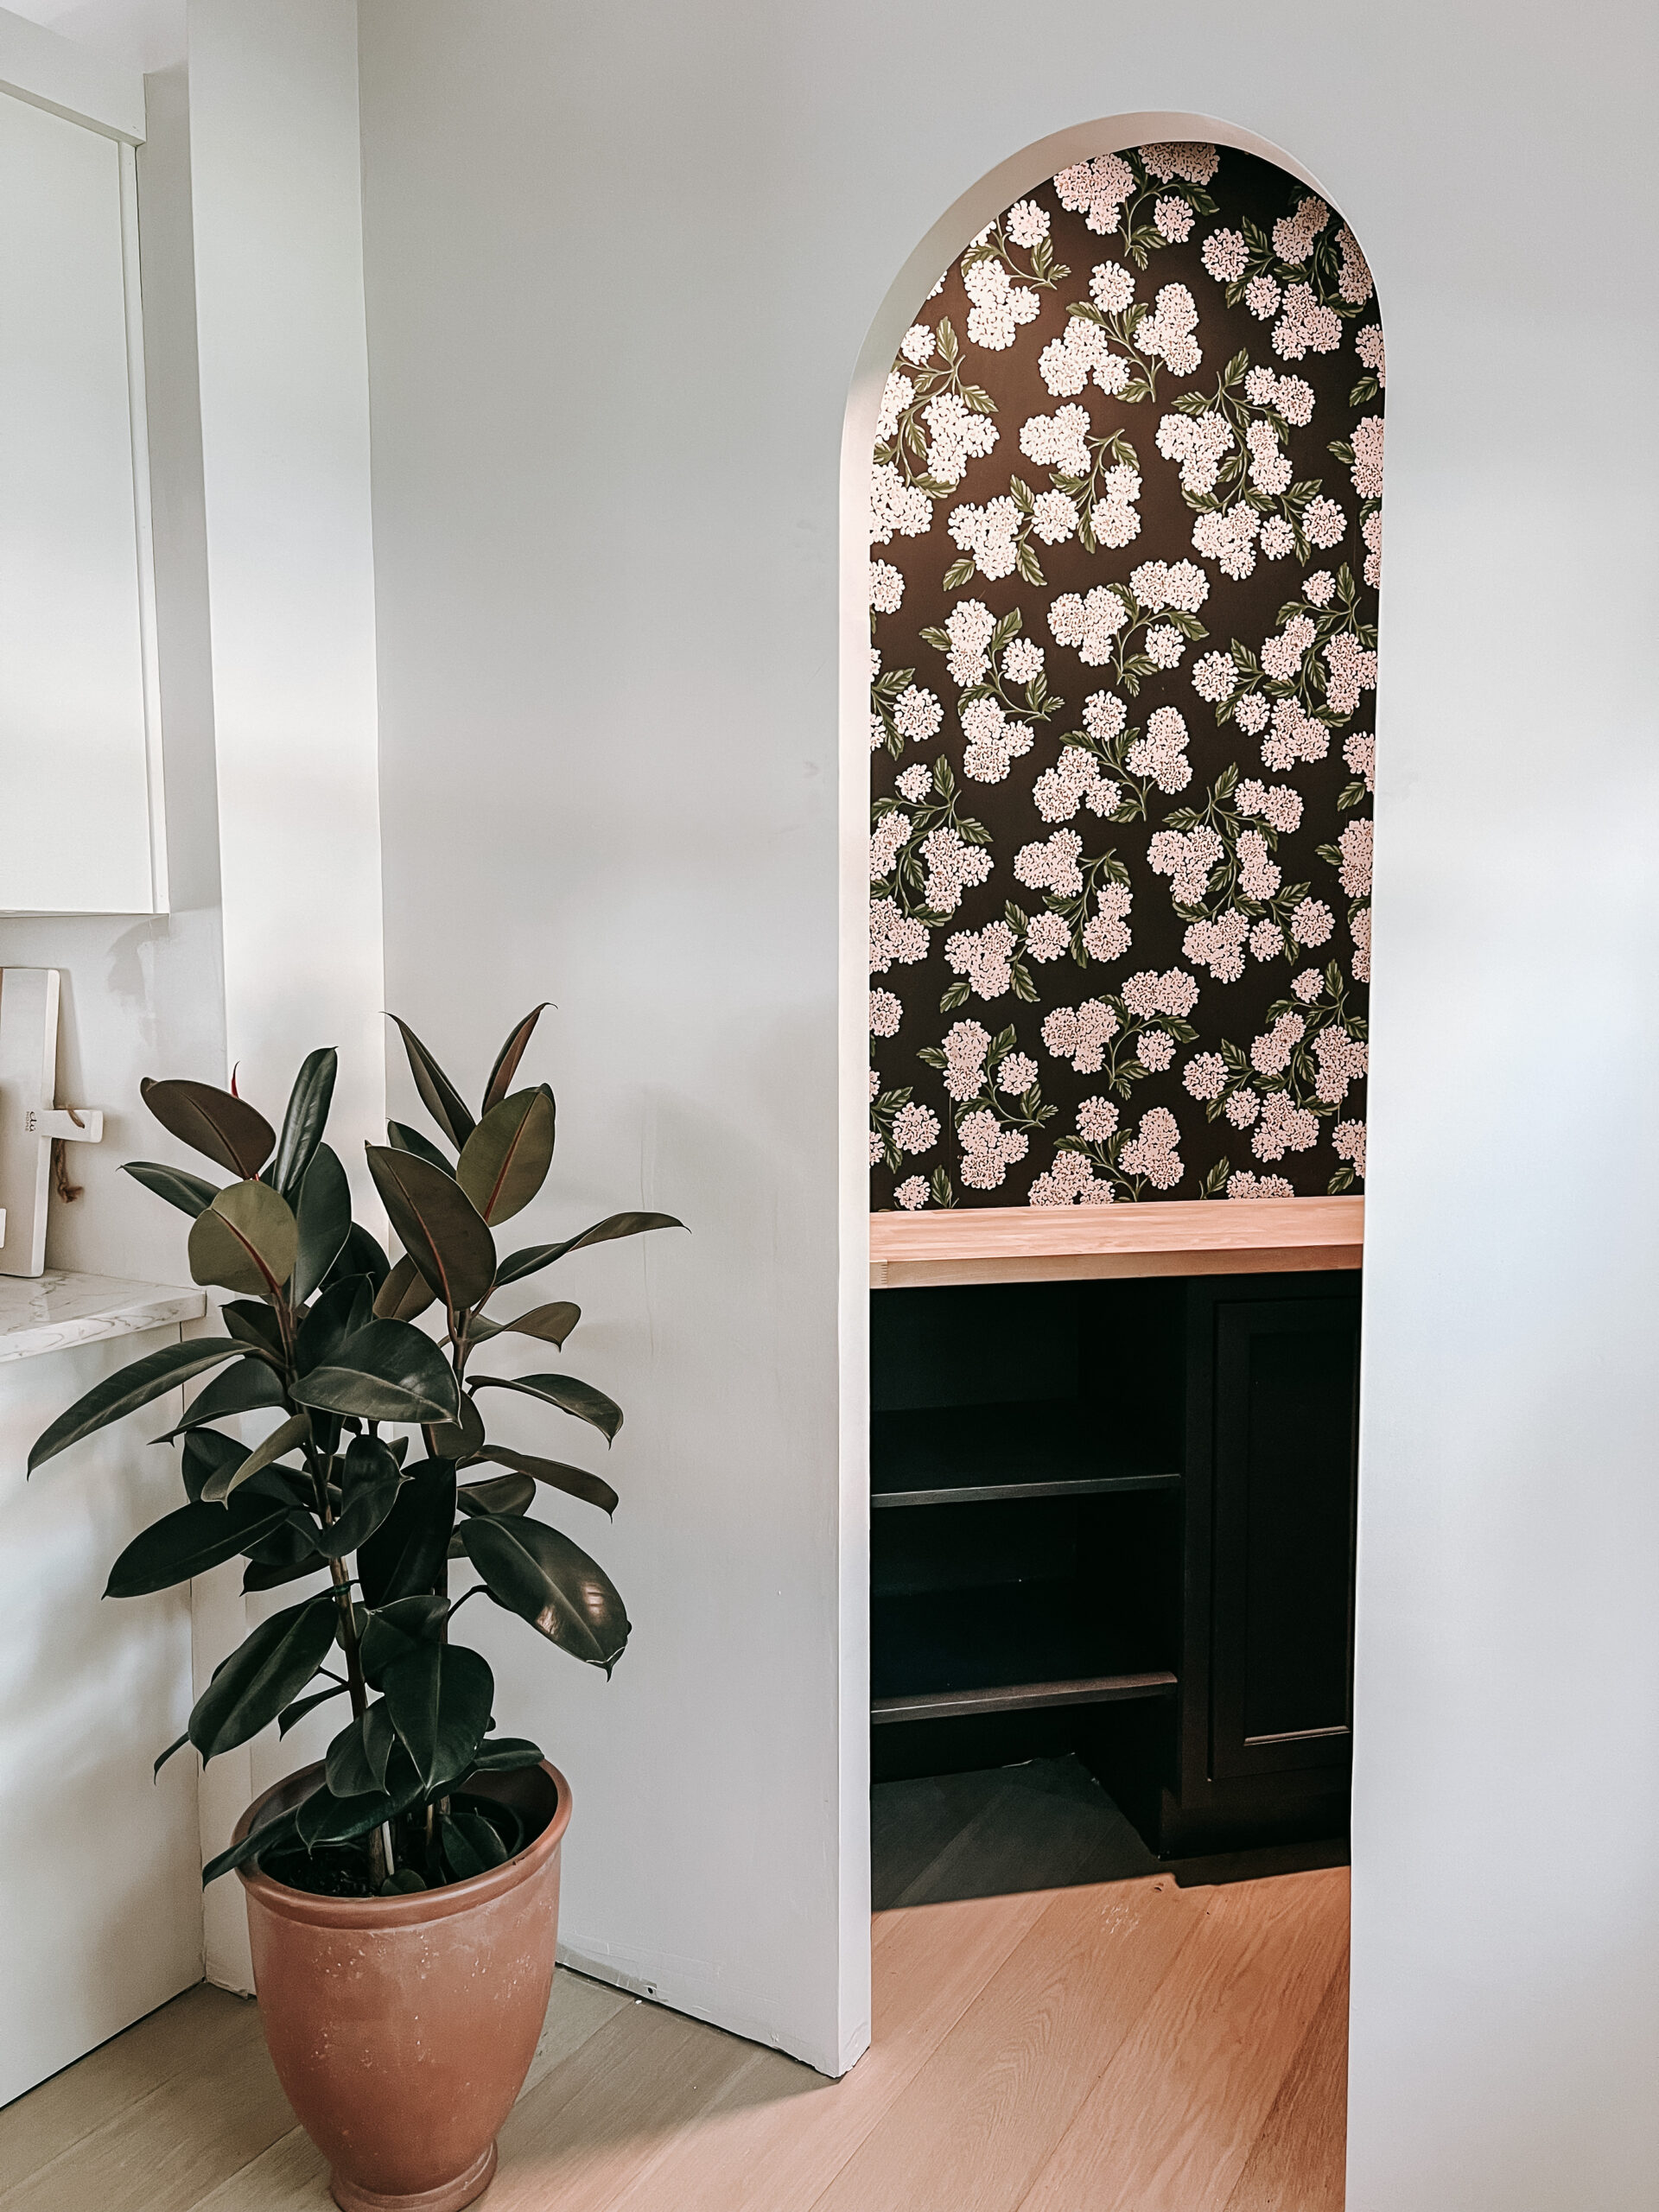
I owe you all an update on our (never-ending) kitchen remodel so today I’m going to share some progress of our pantry.
When we first moved in, there was this really small wall cabinet area that we used as the pantry for food storage. We also have a cellar in our basement that holds the majority of our bulk items but when we decided to remodel, we knew we wanted to rework a pantry area.
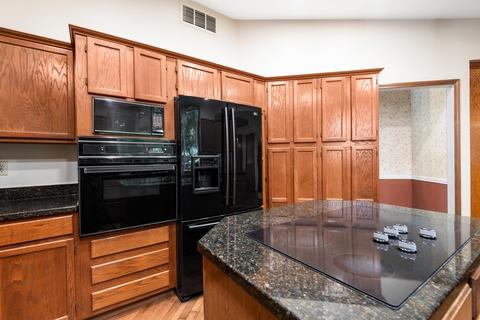
Since we decided to remove the wall that the pantry was originally on and extend our kitchen into what we called the “piano room”, we had space to create a new pantry. However it didn’t really start to take shape until the majority of the kitchen remodel was done.
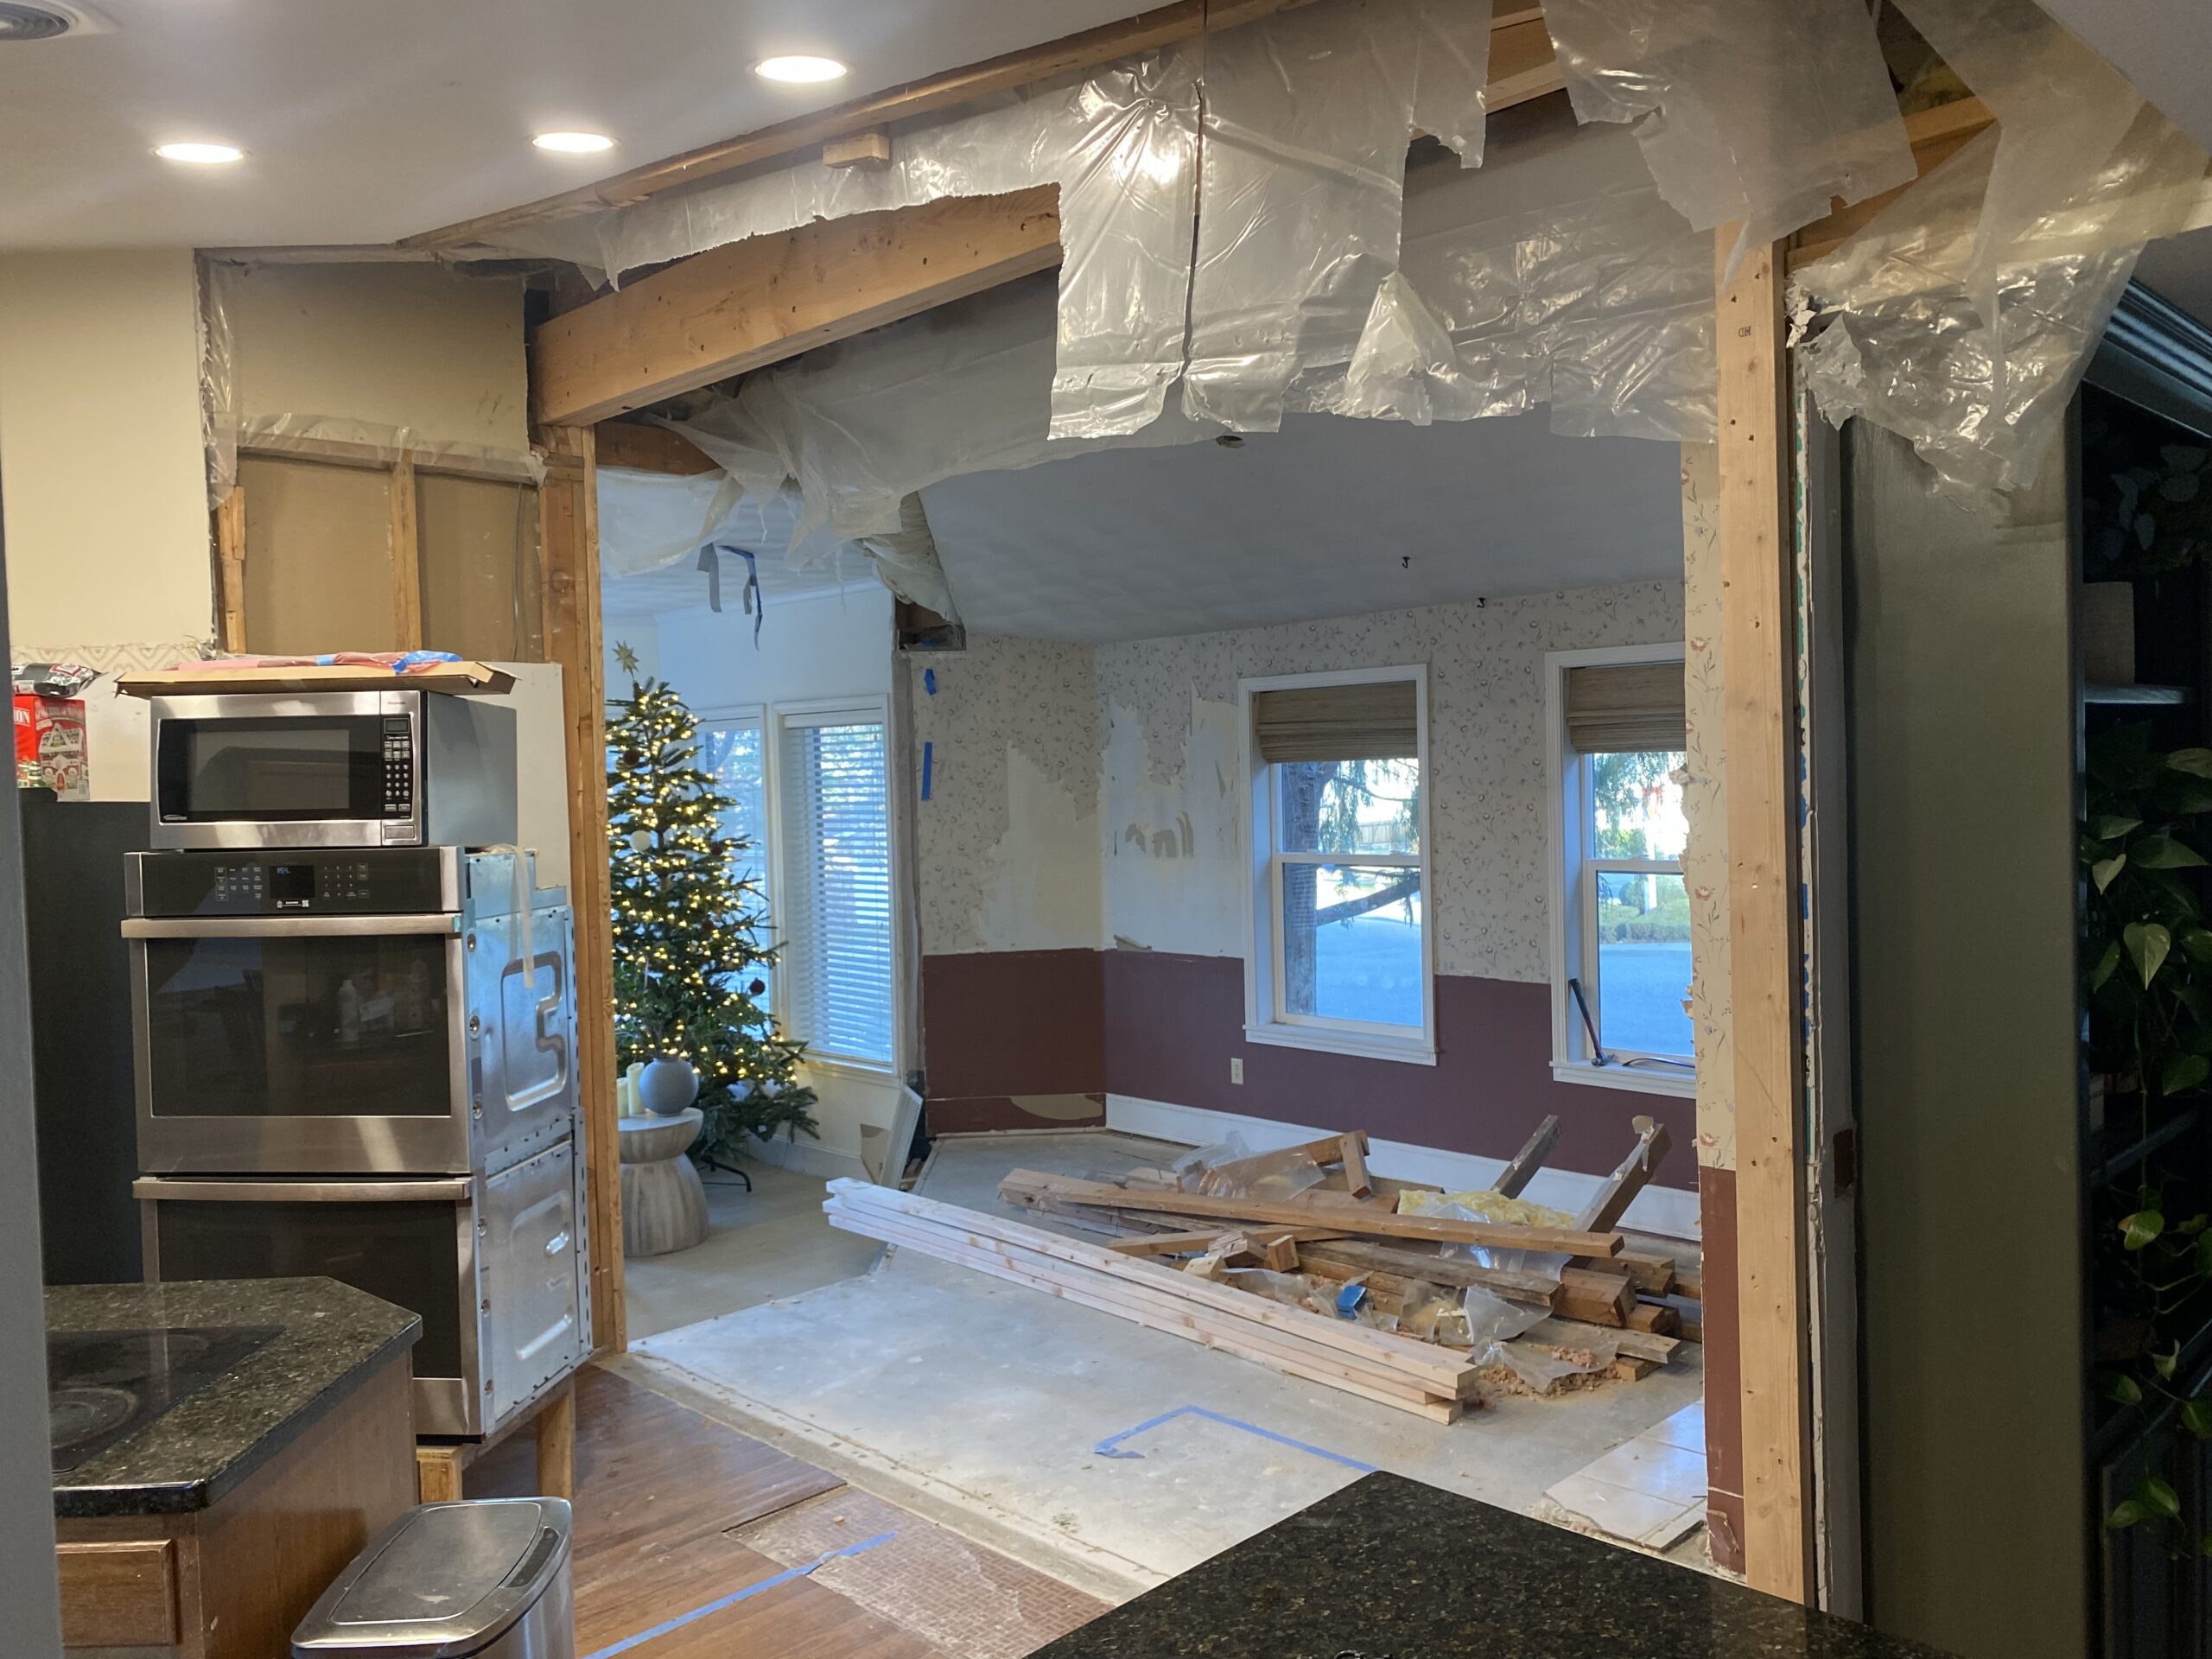
The photo above shows the wall that we removed along with the support beam. We ended up closing off that front room as well as creating an area for the new pantry!
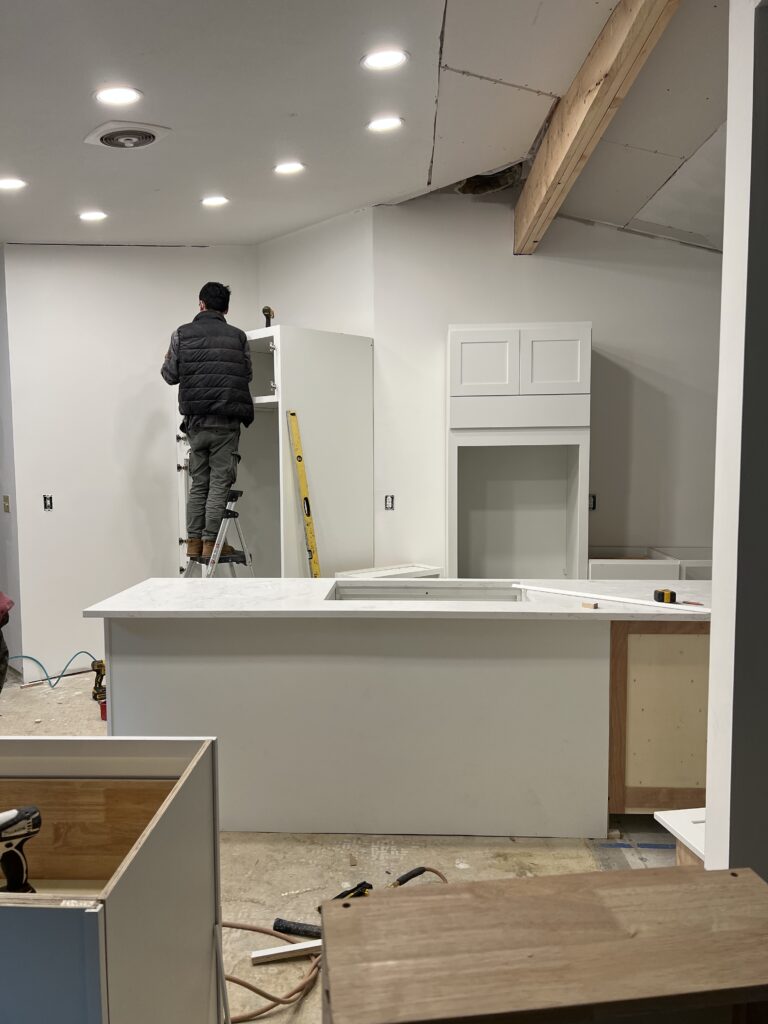
And here’s a look at them installing the new cabinets and countertops! But back to the pantry…
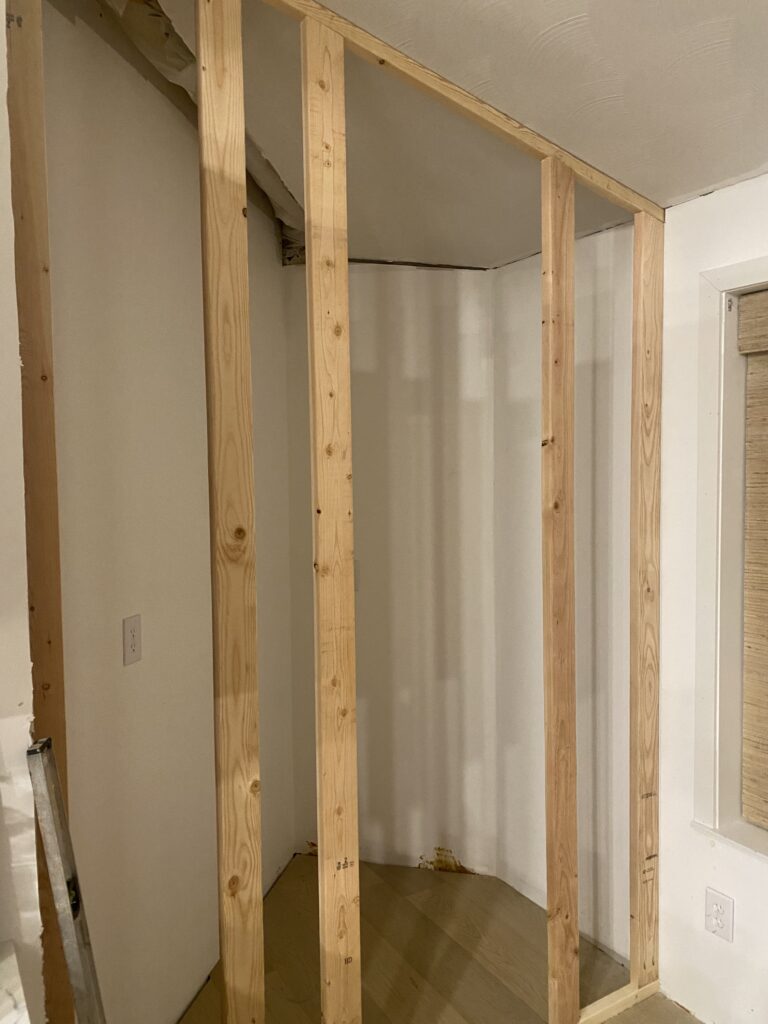
Once we closed off the front room we framed out the space for the pantry. We decided to do an arched doorway and plan to keep it open. Next up we added drywall and mud (worst part of any project!) But it was exciting to see it start to take shape.
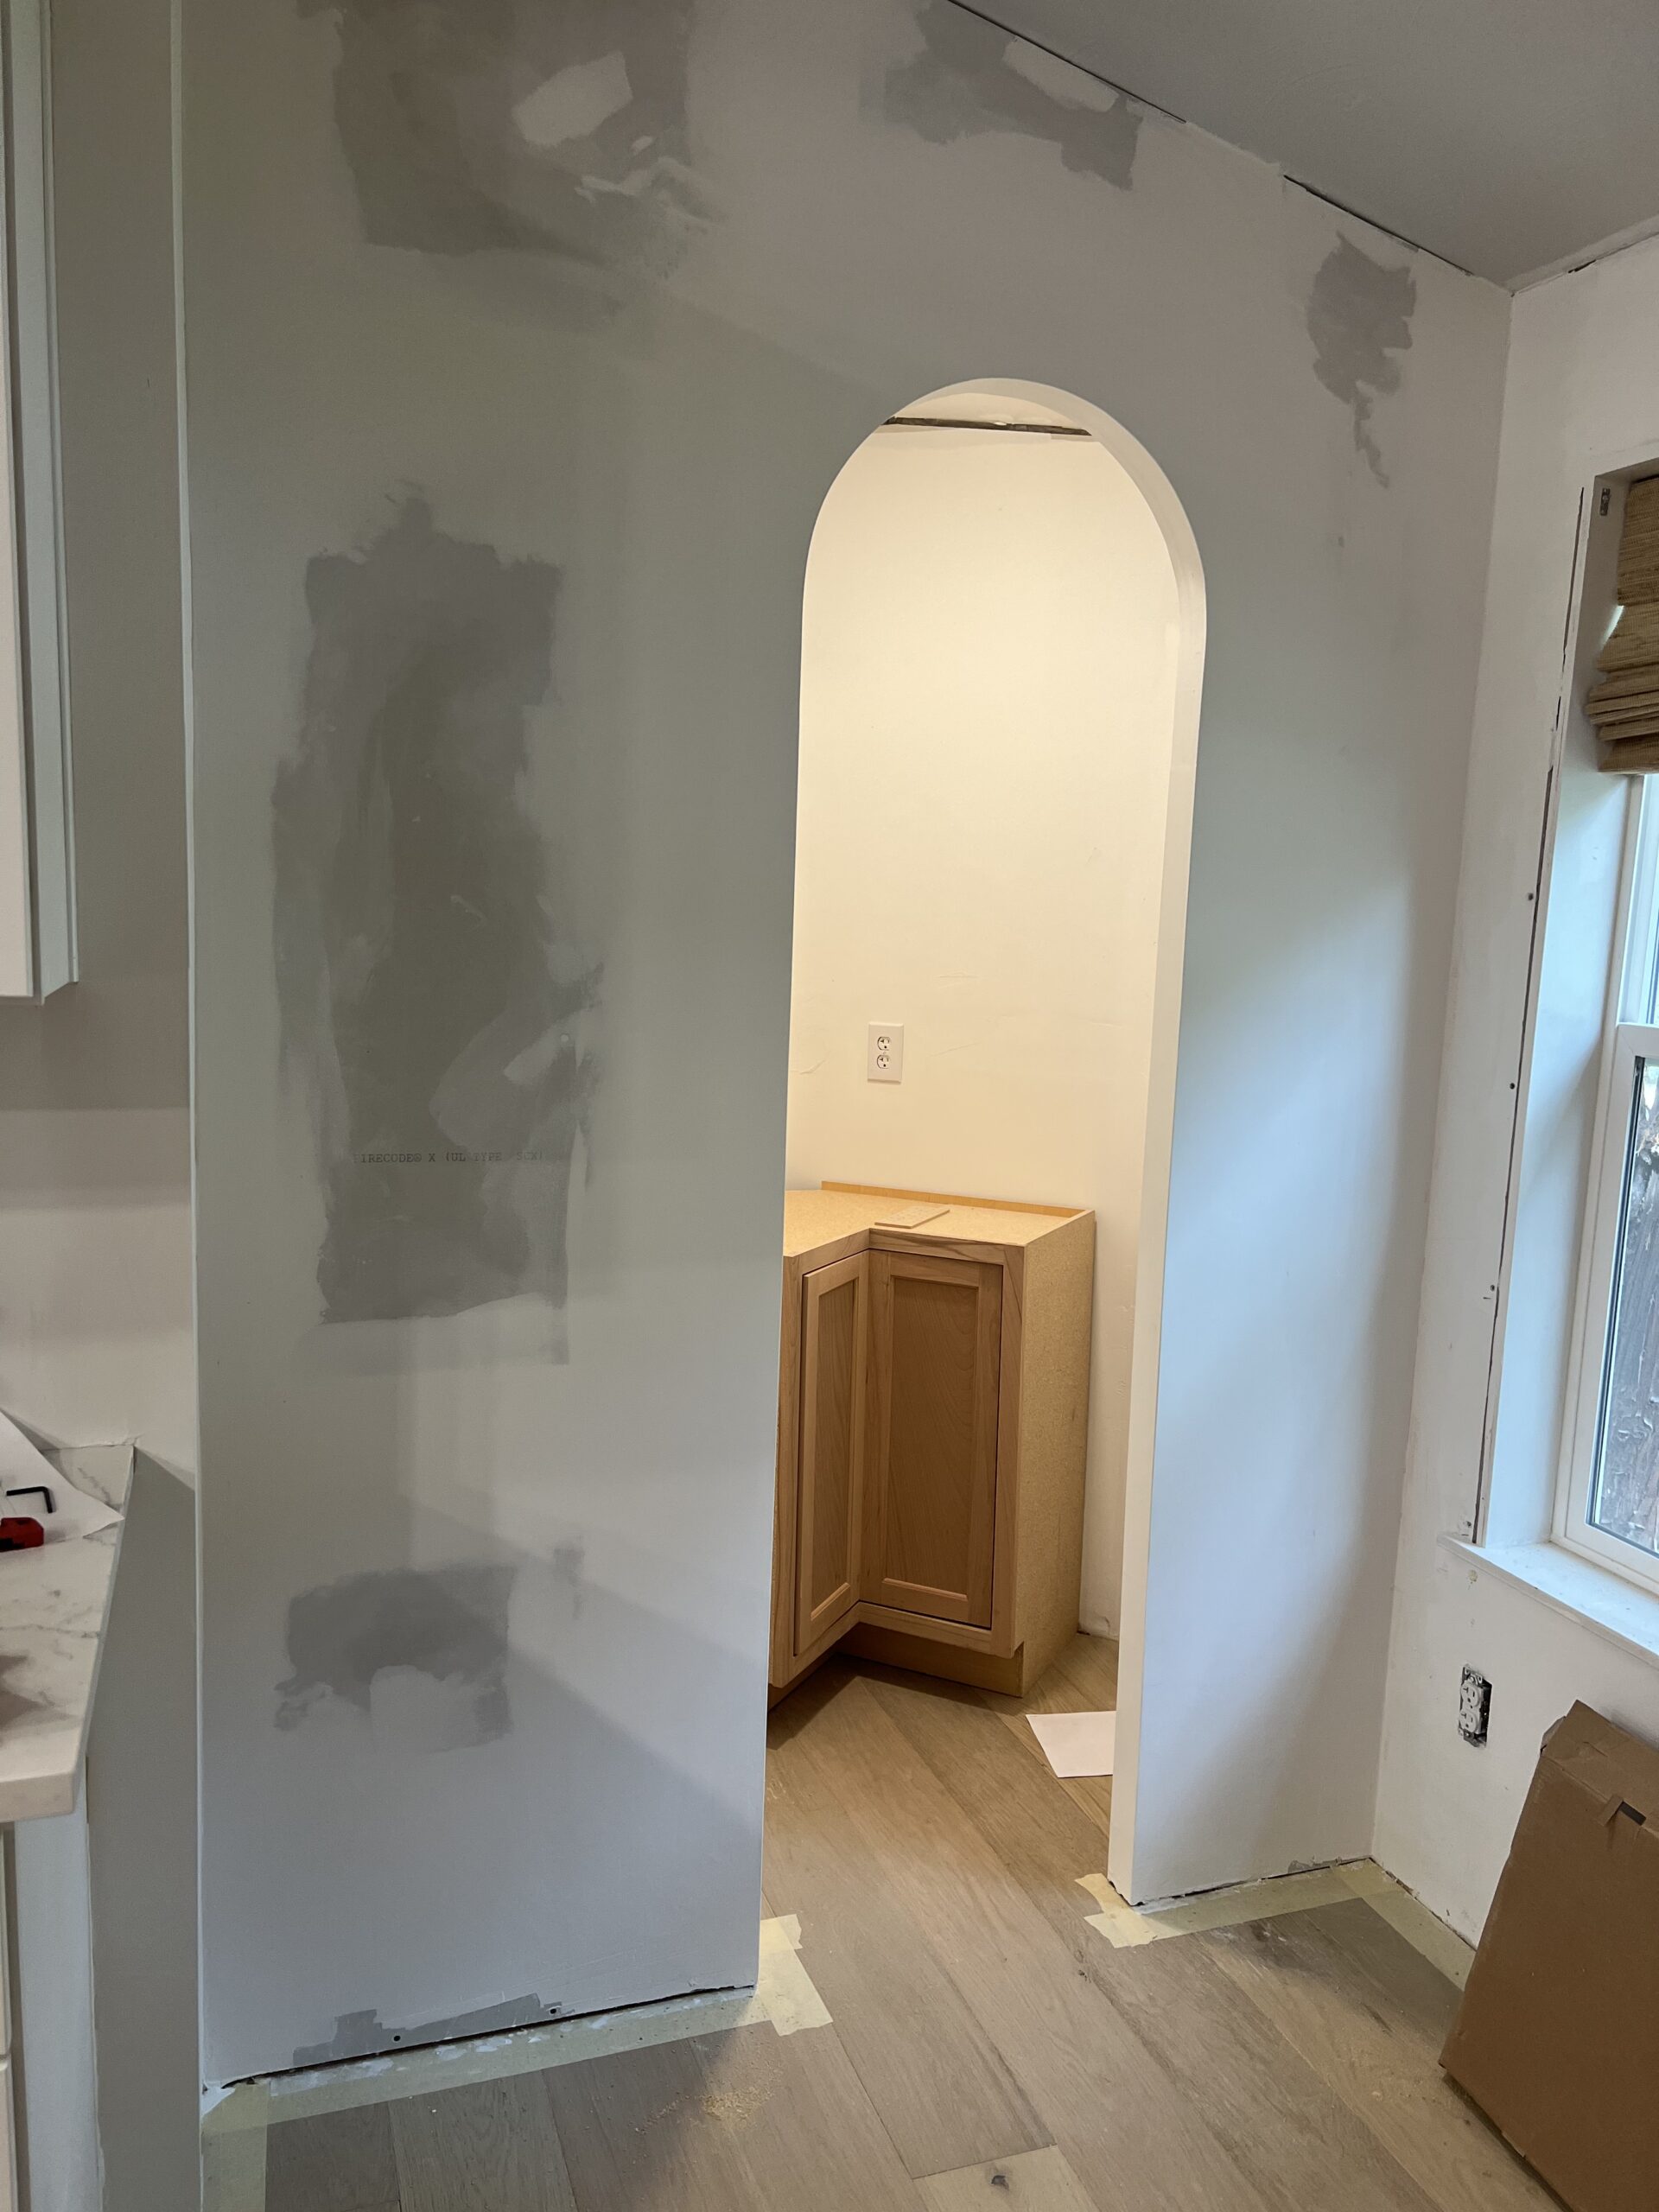
We purchased a stock cabinet from Lowes but because of the awkward angle, Vince actually had to cut off some of the back corner in order to fit it through the doorway. Probably should have placed it in there before we added the walls and drywall but oh well!
I forgot to take a photo after he did the shelves on the sides and before he added the butcher block but here’s a photo below once the counter was added
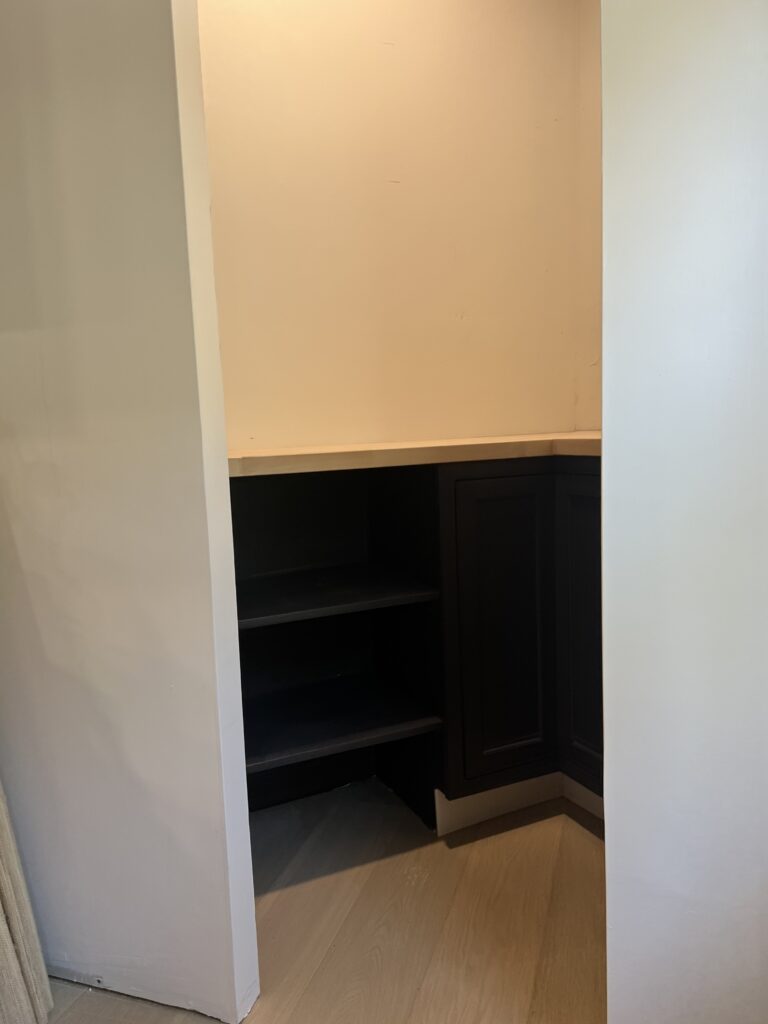
I painted the bottom of the cabinets in a color match for Iron Ore and then I added this super fun wallpaper from Rifle Paper Co. I love the whimsy that it adds to this space. Next up on our list is to add some more shelving but since we have a cellar in our basement for extra food storage, it actually isn’t a necessity at the moment.
Stay tuned for more updates! … like baseboards and stuff LOL
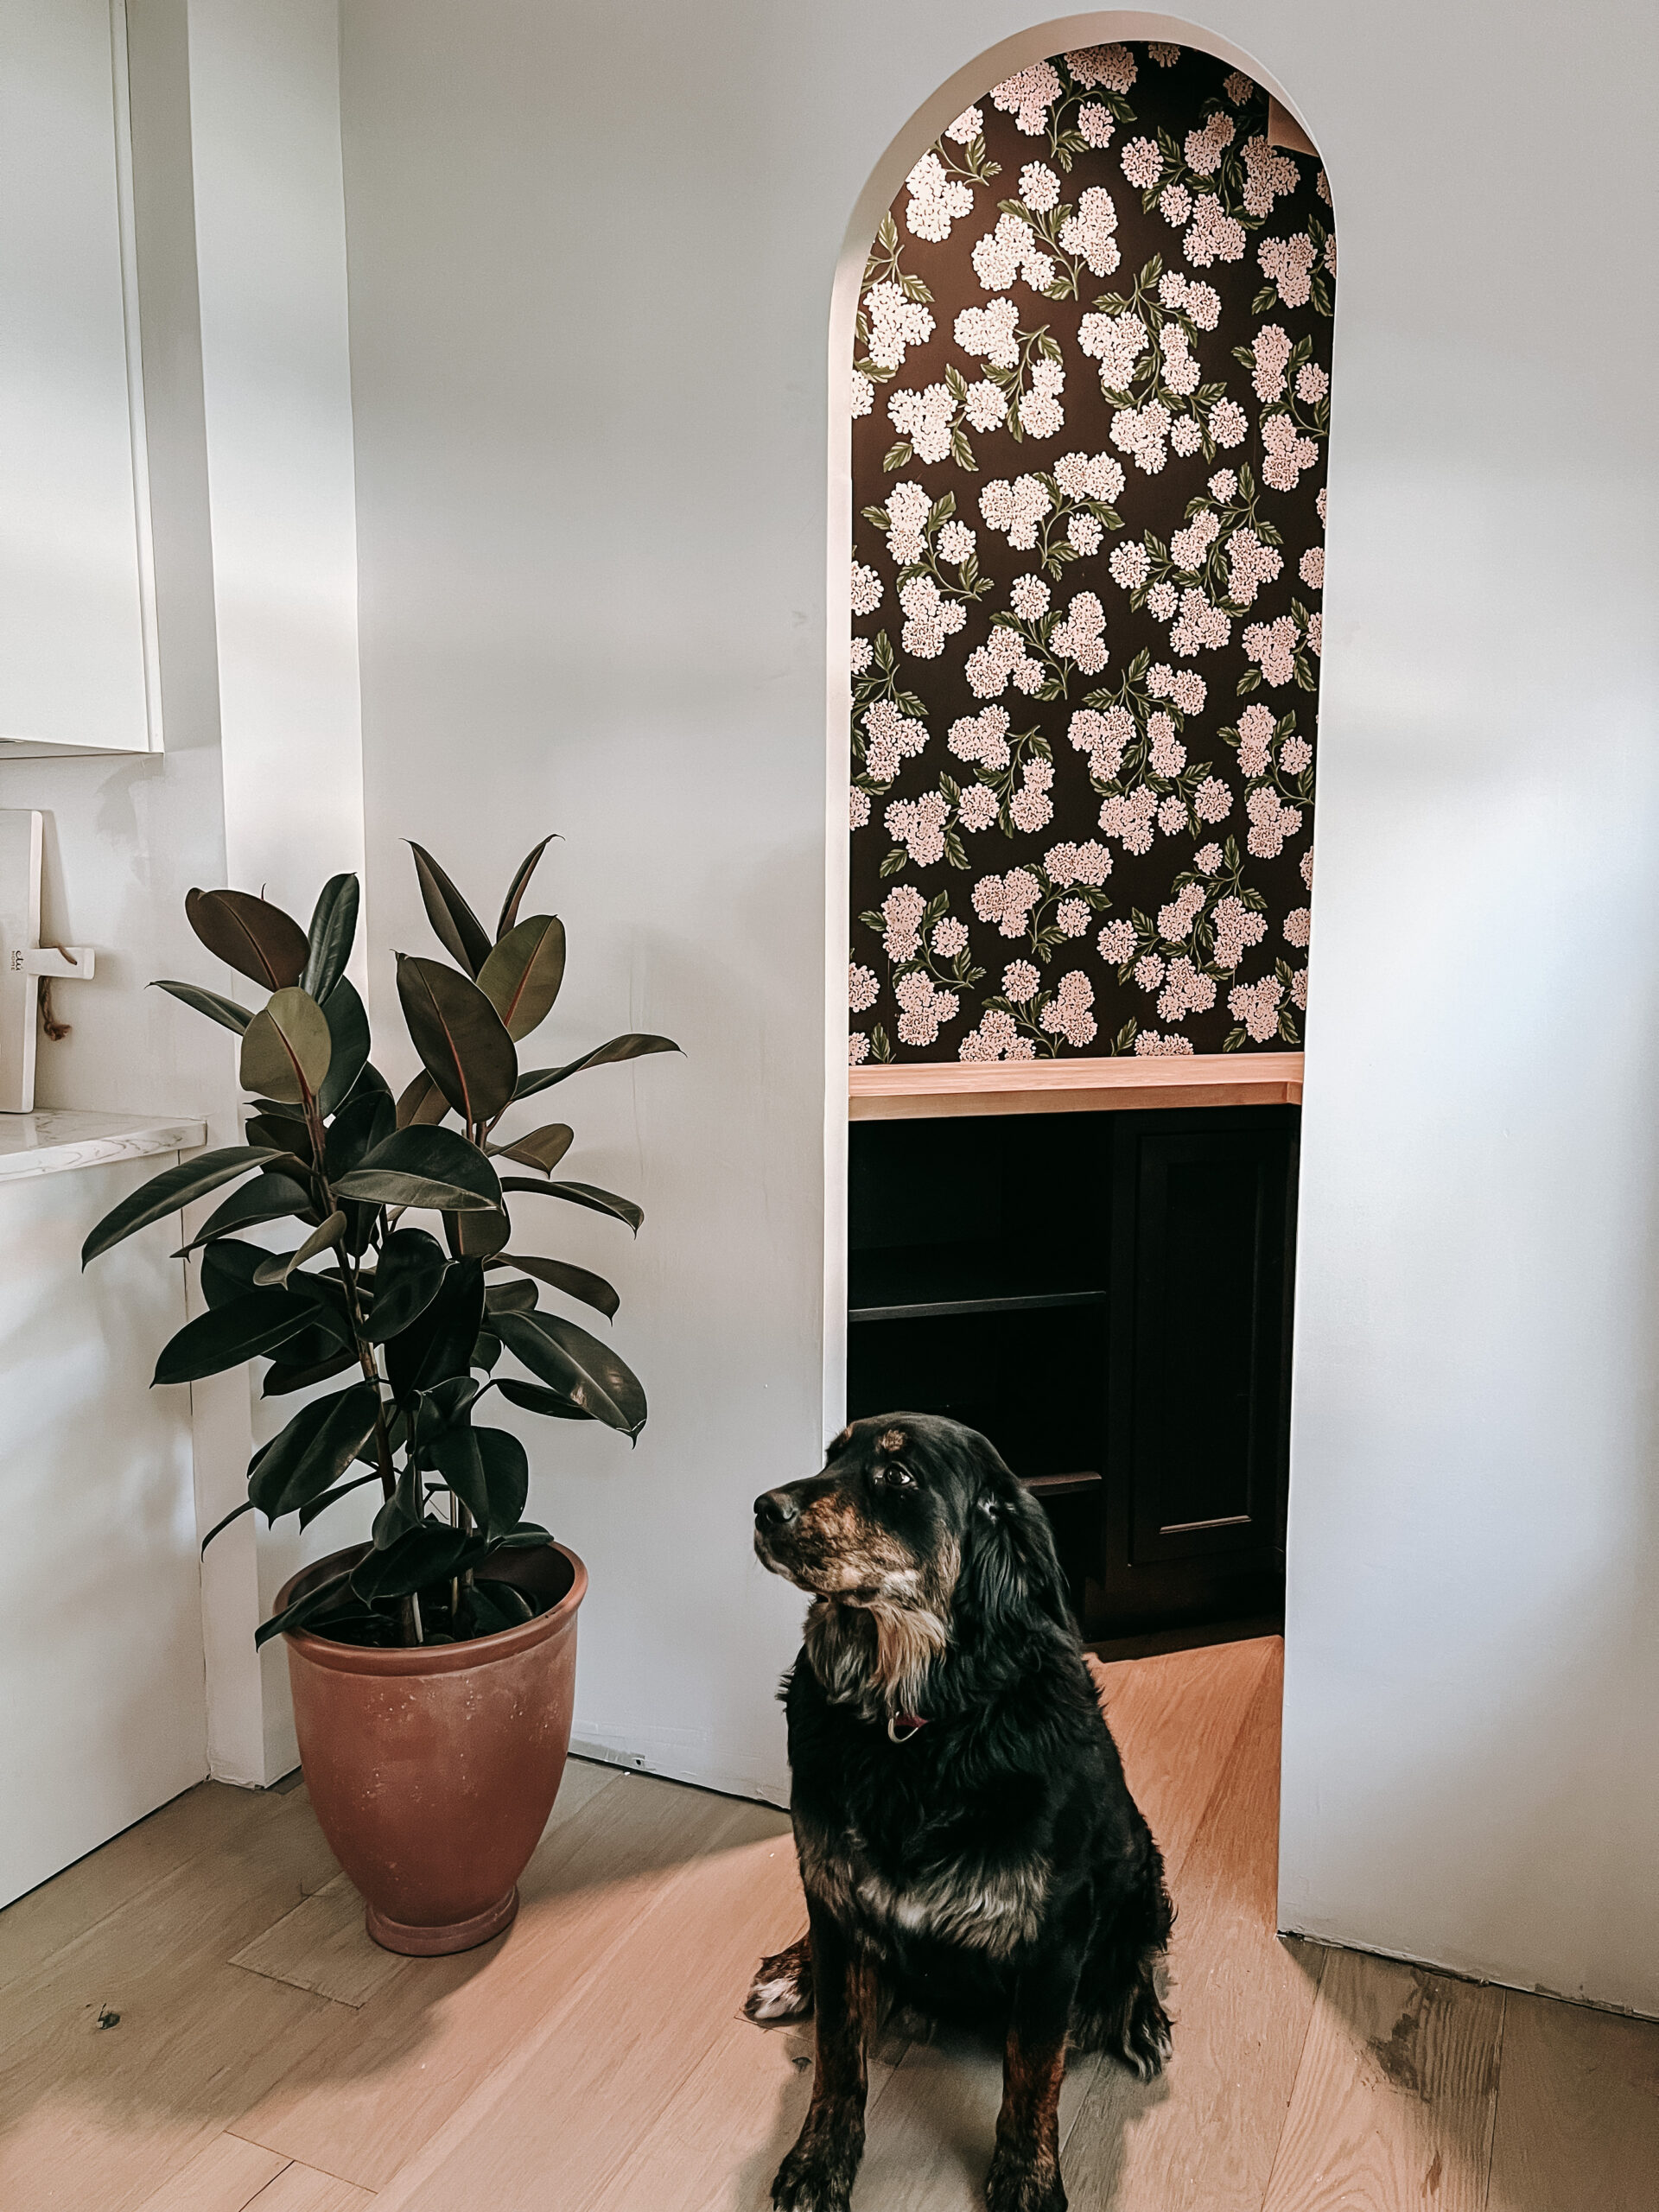
Sweet Blake.
