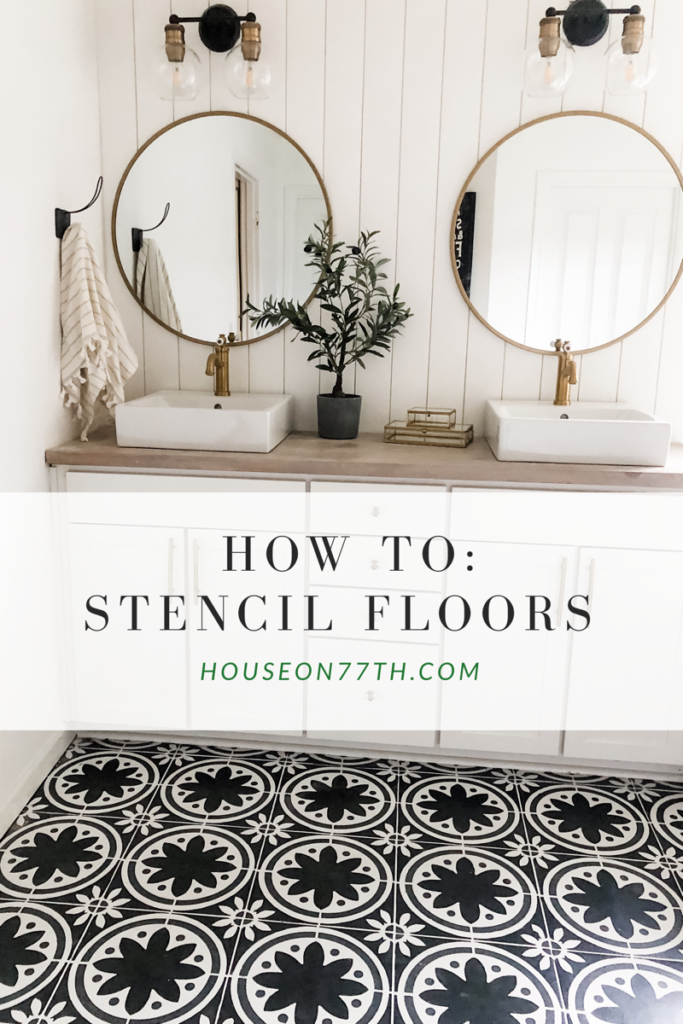
The bathroom tile floors are finally done and today I am going to share all the details on how to paint your boring floors and create a gorgeous, vintage inspired pattern tile floor. Let's begin with a little before and after action, shall we?
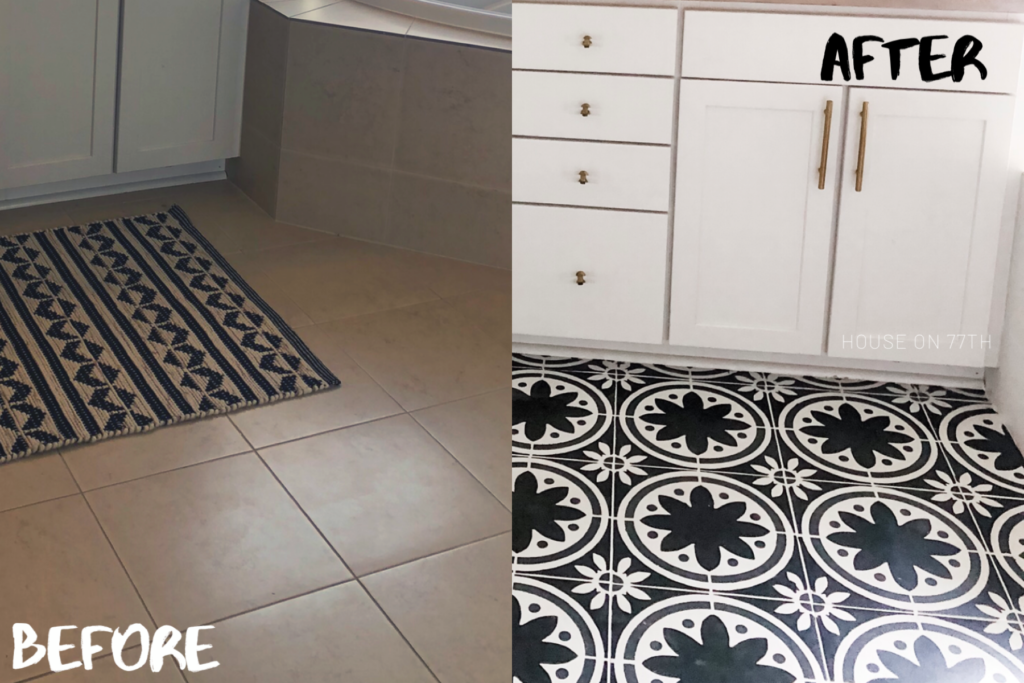
Are you ready to tackle this project? Let's go! Here is your supply list:
- Floor Cleaner (I recommend either TSP or Krud Kutter)
- Sponge to scrub floors
- Painters Tape
- Sandpaper or orbital sander with 120 grit
- Stencil of choice (I used this one)
- Zinsser Bulls Eye 1-2-3 Primer
- Rollers & Smooth Roller Covers (double up on these because you'll need for both the primer and sealer!)
- Stencil brush or you can use a small roller
- Angle brush
- Background Paint color (I used this one)
- Stencil Paint color (I used this one, and this)
- Sealer
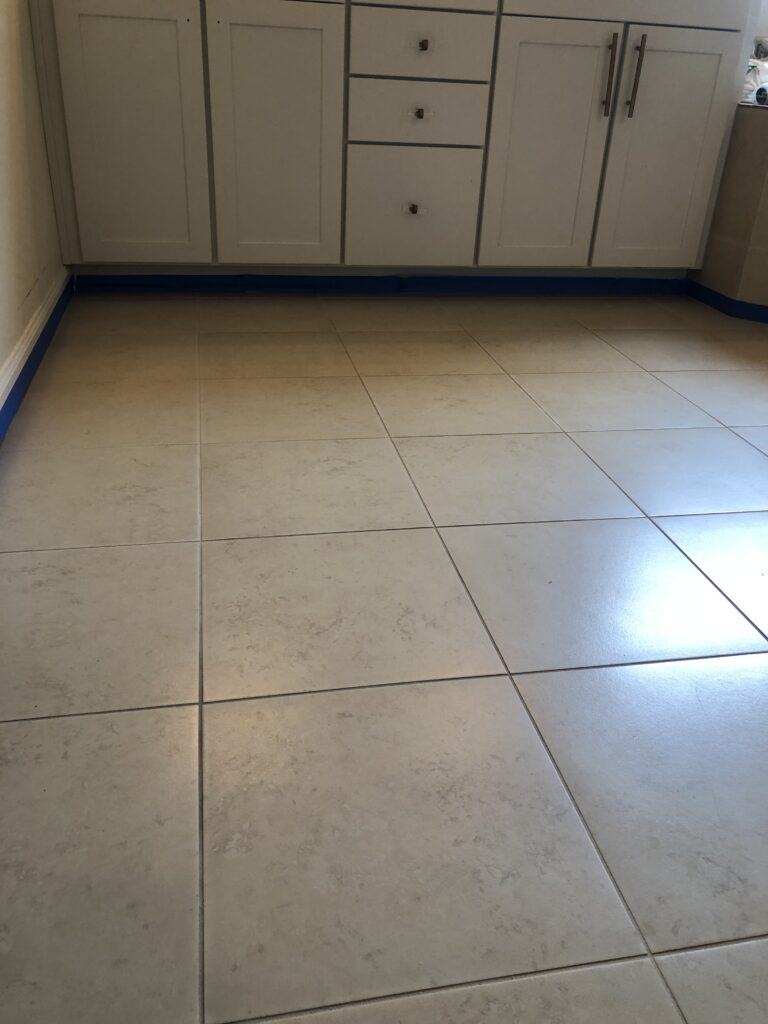
Now that you have your materials.. time for the fun part.. CLEANING! ha. Get down and scrub those floors! You want them to be sparkling and squeeky clean. And then once you've cleaned them up all, you're going to go ahead and get them dirty by sanding them. This will help rough up the texture and hopefully eliminate the shine so that the paint will adhere properly.
After you have sanded the floors, sweep up all the dust and debris and make sure there is nothing left on the floor.
Tip #1: Use a hair dryer while you work to blow off any debris that may fall on the floor.
Now that your floors are cleaned and prepped, it's time for tape. I recommend taping along the entire perimeter of the room and make sure to cover any areas that you don't want the paint to touch. Press firmly on the tape so that there is no bleeding on the other side.
Once you're prepped you can begin priming. I always use an angle brush first and paint along the perimeter and along the grout lines. I feel like this helps to get into the grout a lot better than just using the roller.
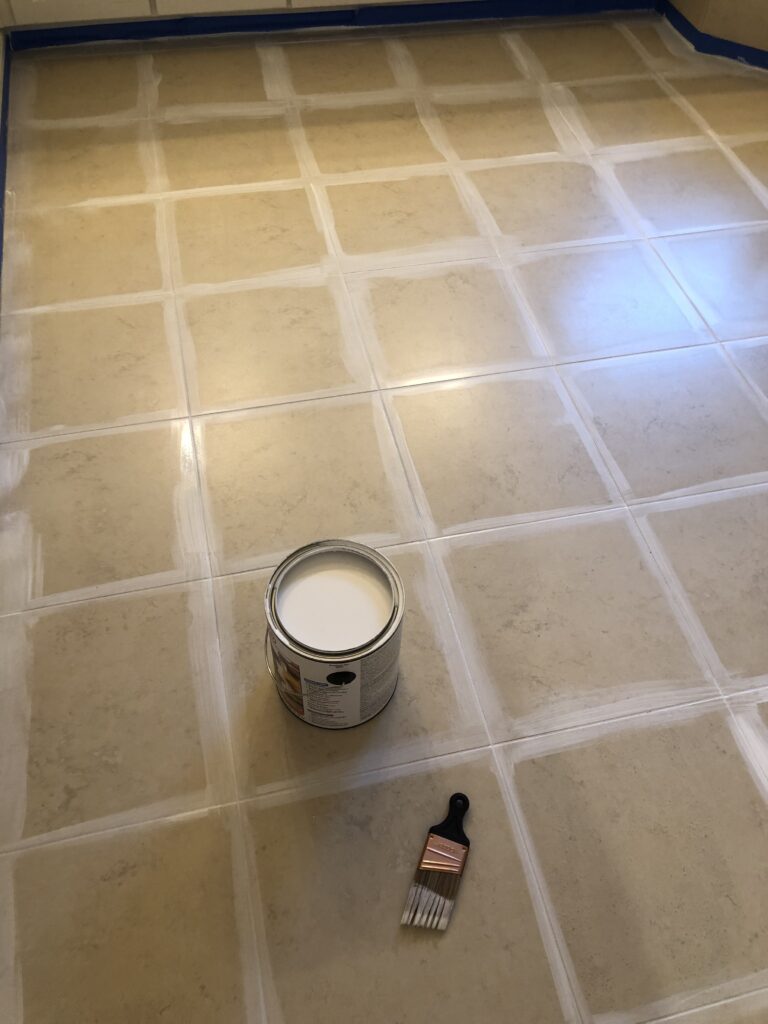
I typically do anywhere from 2-3 coats of primer to make sure that it really covers nicely. You'll need to wait about an hour between each coat and then once that's done I typically wait about a day to do my stenciling.
For the particular project I wanted the background color to be a little more of a softer white so I opted to painted it in the Linen White chalk paint (link is above!). I did two coats after my primer was dry and then I allowed another day to pass before doing my stenciling. If you want a color other than the stark white primer color, make sure you allow for proper dry times!
After your background color is done, it's time to stencil! If this is your first project I highly recommend just using one color. It's going to save you so much time and not feel so tedious. For this project I used two colors.
You will first want to line up your stencil on your tile. I started somewhere in the middle and made sure there was a complete tile to paint on.
Tip #2: Use blue painter's tape along the edge of your stencil sheet to hold it in place.
I always roll my roller into the paint and then roll it off onto another plate or paper towel. The key is to not have a lot of paint on your brush and do it very lightly!! Begin lightly rolling on over your stencil and make sure to color the registration marks as that is needed in order to line up your stencils. You do not want to press too firmly or go over it too many times or else you will get paint seeping onto the other side of your stencil and it will create a mess.
Carefully peel the stencil off and then get to working on your next section. Remember that the one you just worked on will be a little wet so you may not be able to work directly next to it just yet. Just align your registration marks and you should be set to go!
You will need to clean your stencil sheet after about every 5 uses. You don't want the paint to start to build up because this can alter the thickness of your pattern.
Tip #3: Use baby wipes to clean up any messes quickly and efficiently.
At some point you may need to start cutting your stencil in order to get into those hard to reach places (like behind the toilet) or if you have half tiles along the wall (like I did!). Just make sure that you have done all of your full tiles first and then go ahead and cut your stencil the way you need to. This is one of the reasons I always recommend buying 2 stencils!
After the stenciling is done I like to go back over it and check my work. I typically have some mistakes and I like to use a small paint brush to do any touches.
I recommend allowing your painted tiles to try for 24 hours before applying your sealer. Don't forget the blow dryer trick I mentioned above! You do not want any debris on your floor when it comes time to do the sealer. Follow the instructions for the sealer you purchased and don't forget to allow for drying time!
And voila! You're done! You did it!
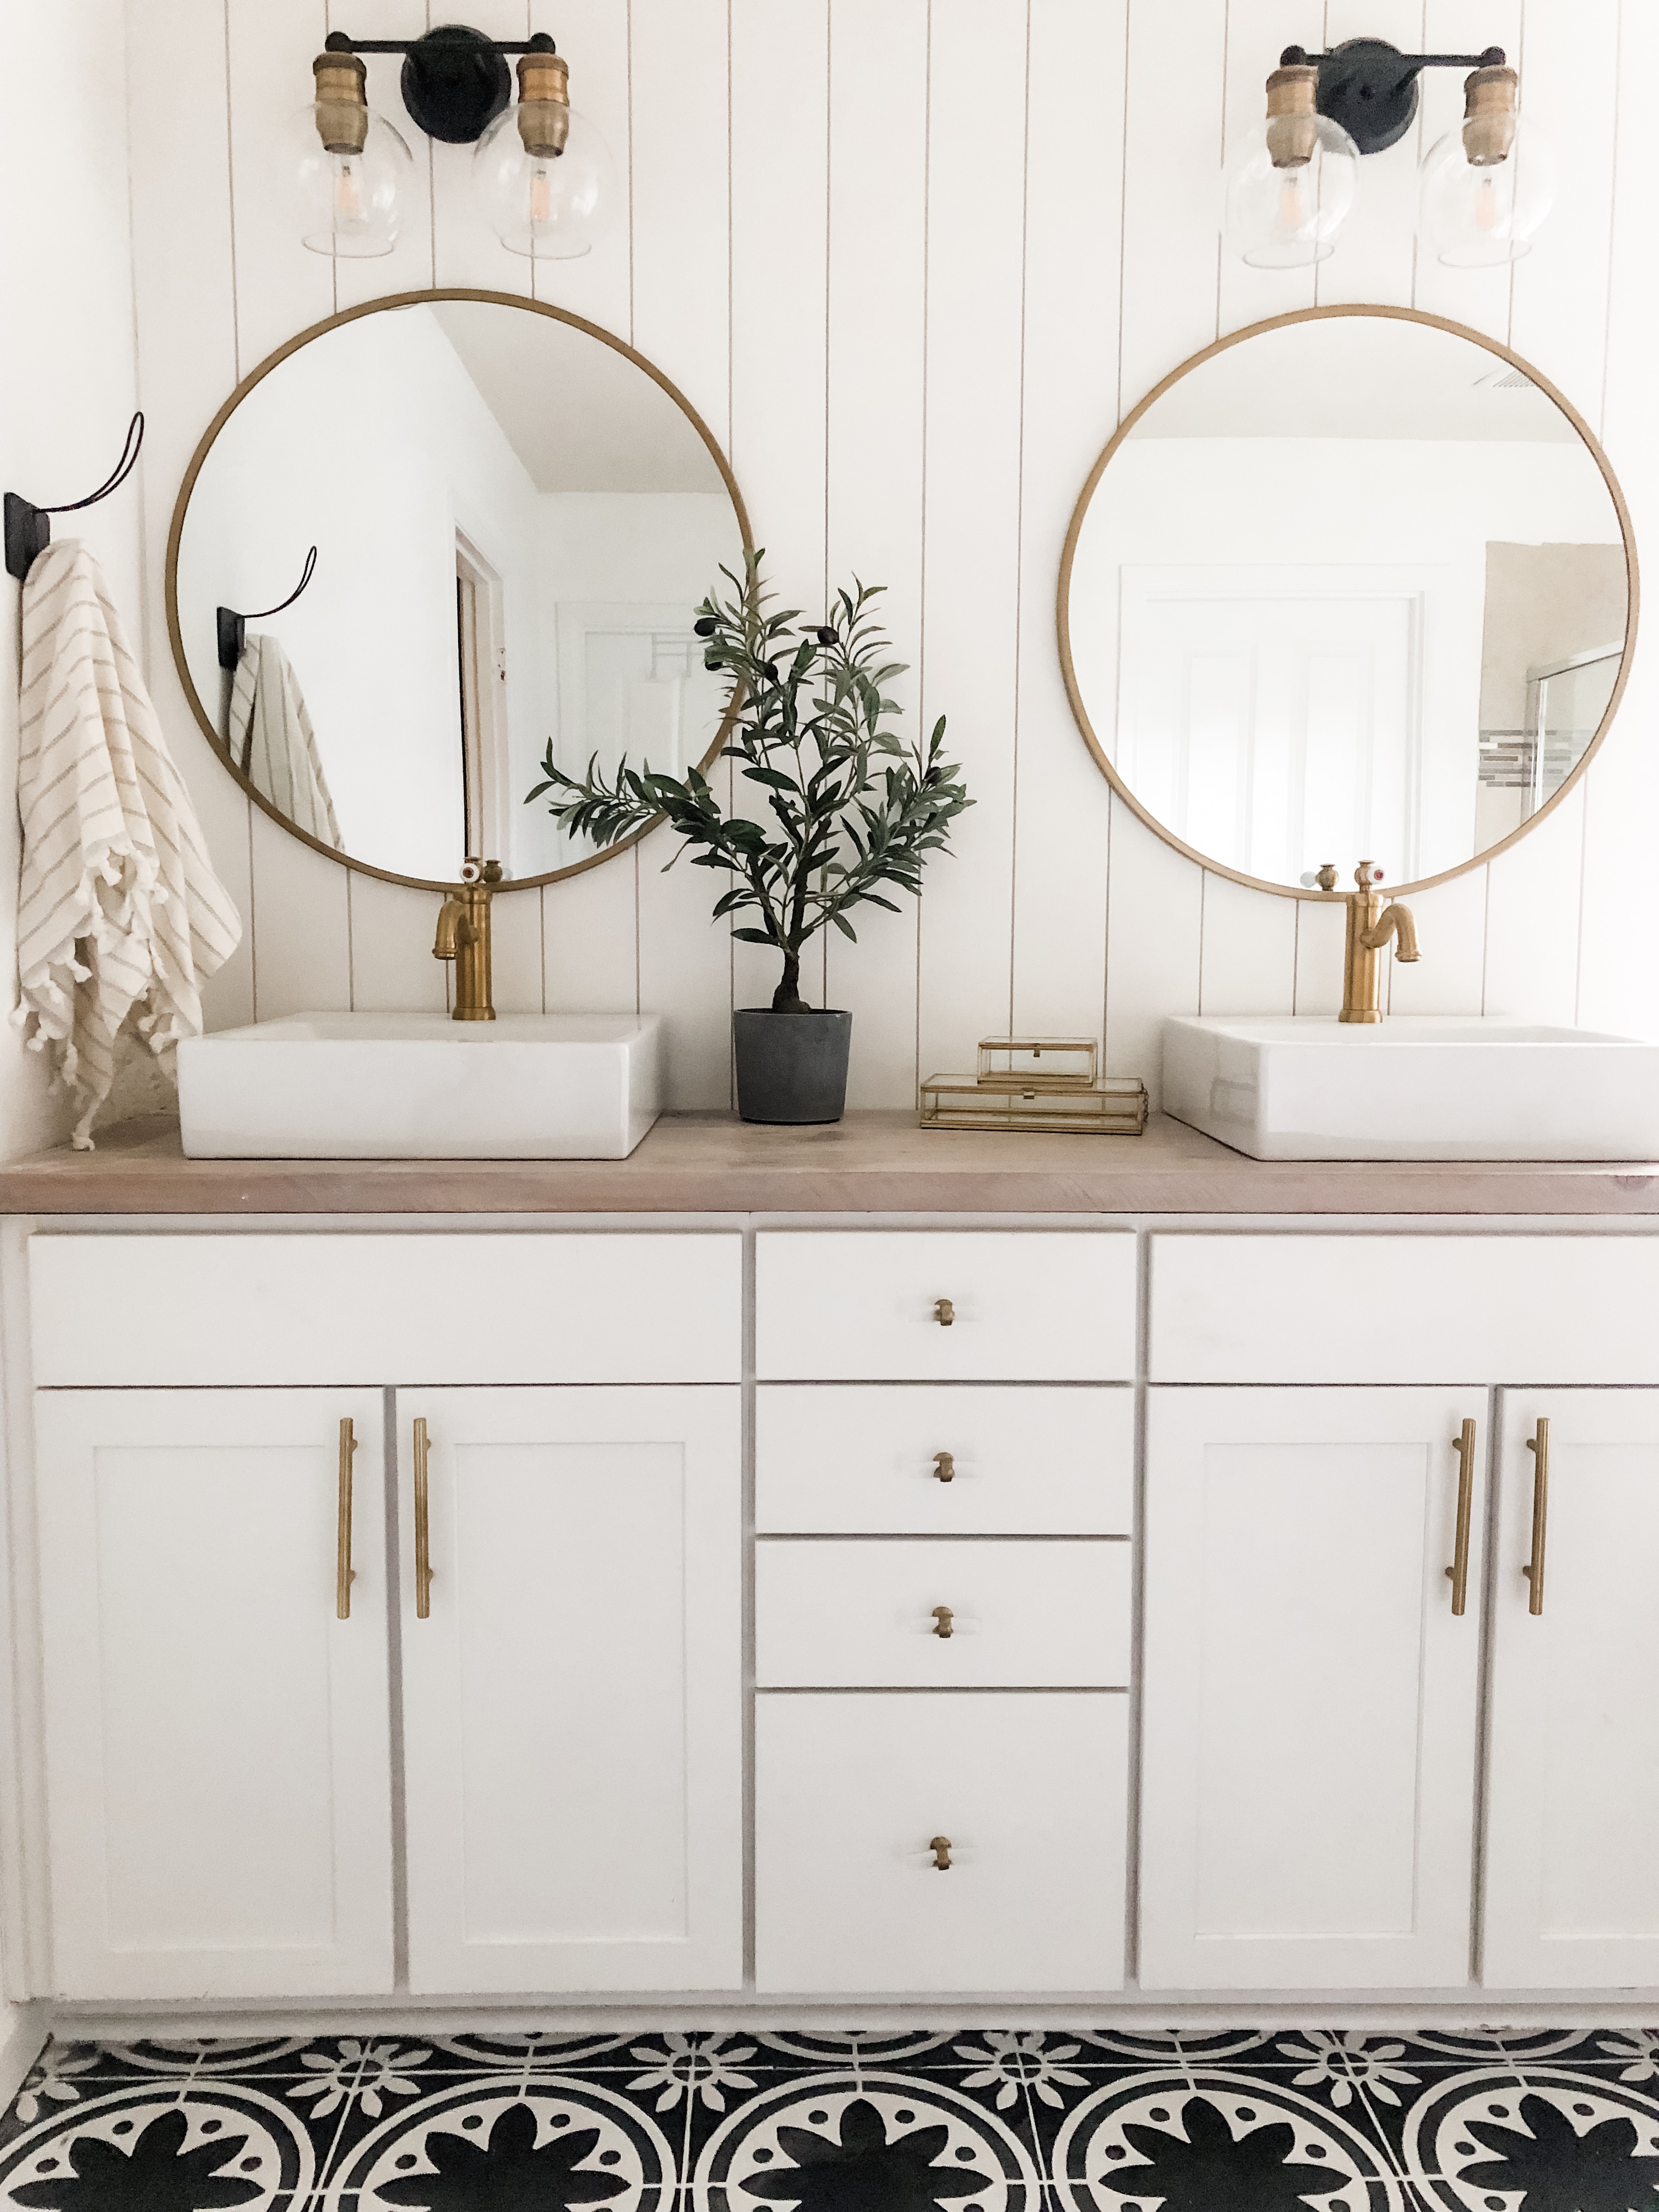

WOW! This turned out amazing- looks like hand painted porcelain tiles!!!
Absolutely stunning! How long would this last?