This is a sponsored post written be me on behalf of Floor & Decor. All opinions are 100% my own!
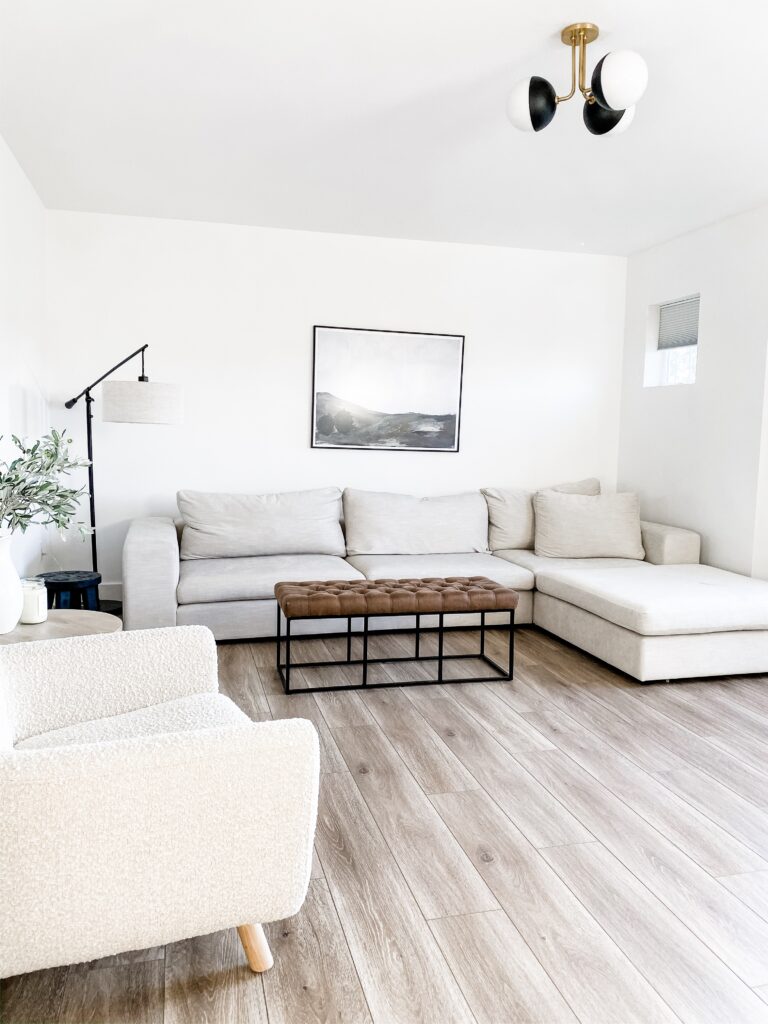
Since moving in to our home almost 5 years ago, we knew pretty quickly that we would eventually remove the carpet upstairs. Our entire lower level is laminate floors (with the exception of tile in the powder bath) and since I tend to put rugs in every room anyway.. removing the carpet and replacing with laminate was always in the grand plan!
A few weeks ago we decided to begin the process of removing the upstairs carpet. Since this is such a time consuming project that involves moving furniture, we chose to take it just one room at a time. The first room on our list… the Bonus Room! We chose to start with this room because its at the front of the house and we wanted the floors to flow throughout the entire upper level. We could have started with our master (which as at the back of the house) but the bonus room turned out to be the perfect starting point.
For this project, we teamed up with the amazing folks at Floor & Decor and I am SO happy with how everything turned out. They offer top quality products at rock bottom prices!
First up, we needed to select the flooring color and style that we wanted. We decided to go with this one — AquaGuard Calico Water-Resistant Laminate.
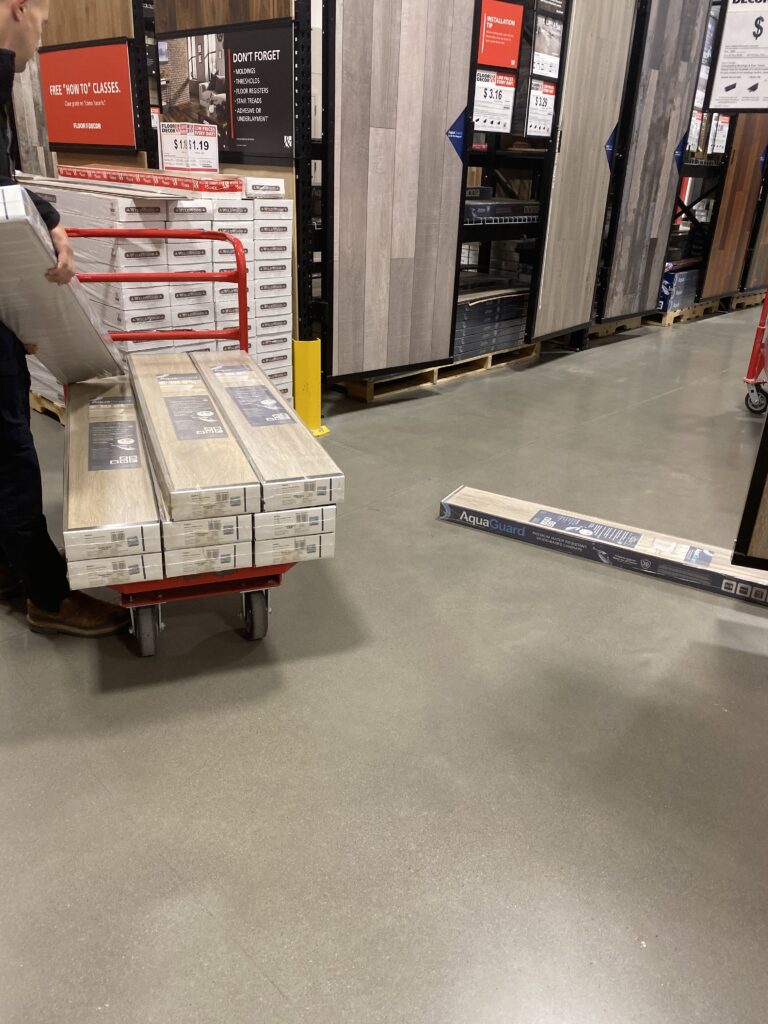
Floor & Decor had such a wide selection of product but without it being too overwhelming that you can’t decide! I knew I wanted something on the lighter side and that was fairly neutral (not too warm, not too gray). We bought a few samples and ultimately chose the AquaGuard Calico. It’s the perfect neutral and I love the 12mm plank size.
After we loaded up our flooring we made sure to grab some underlayment and then headed home to begin on the demo!
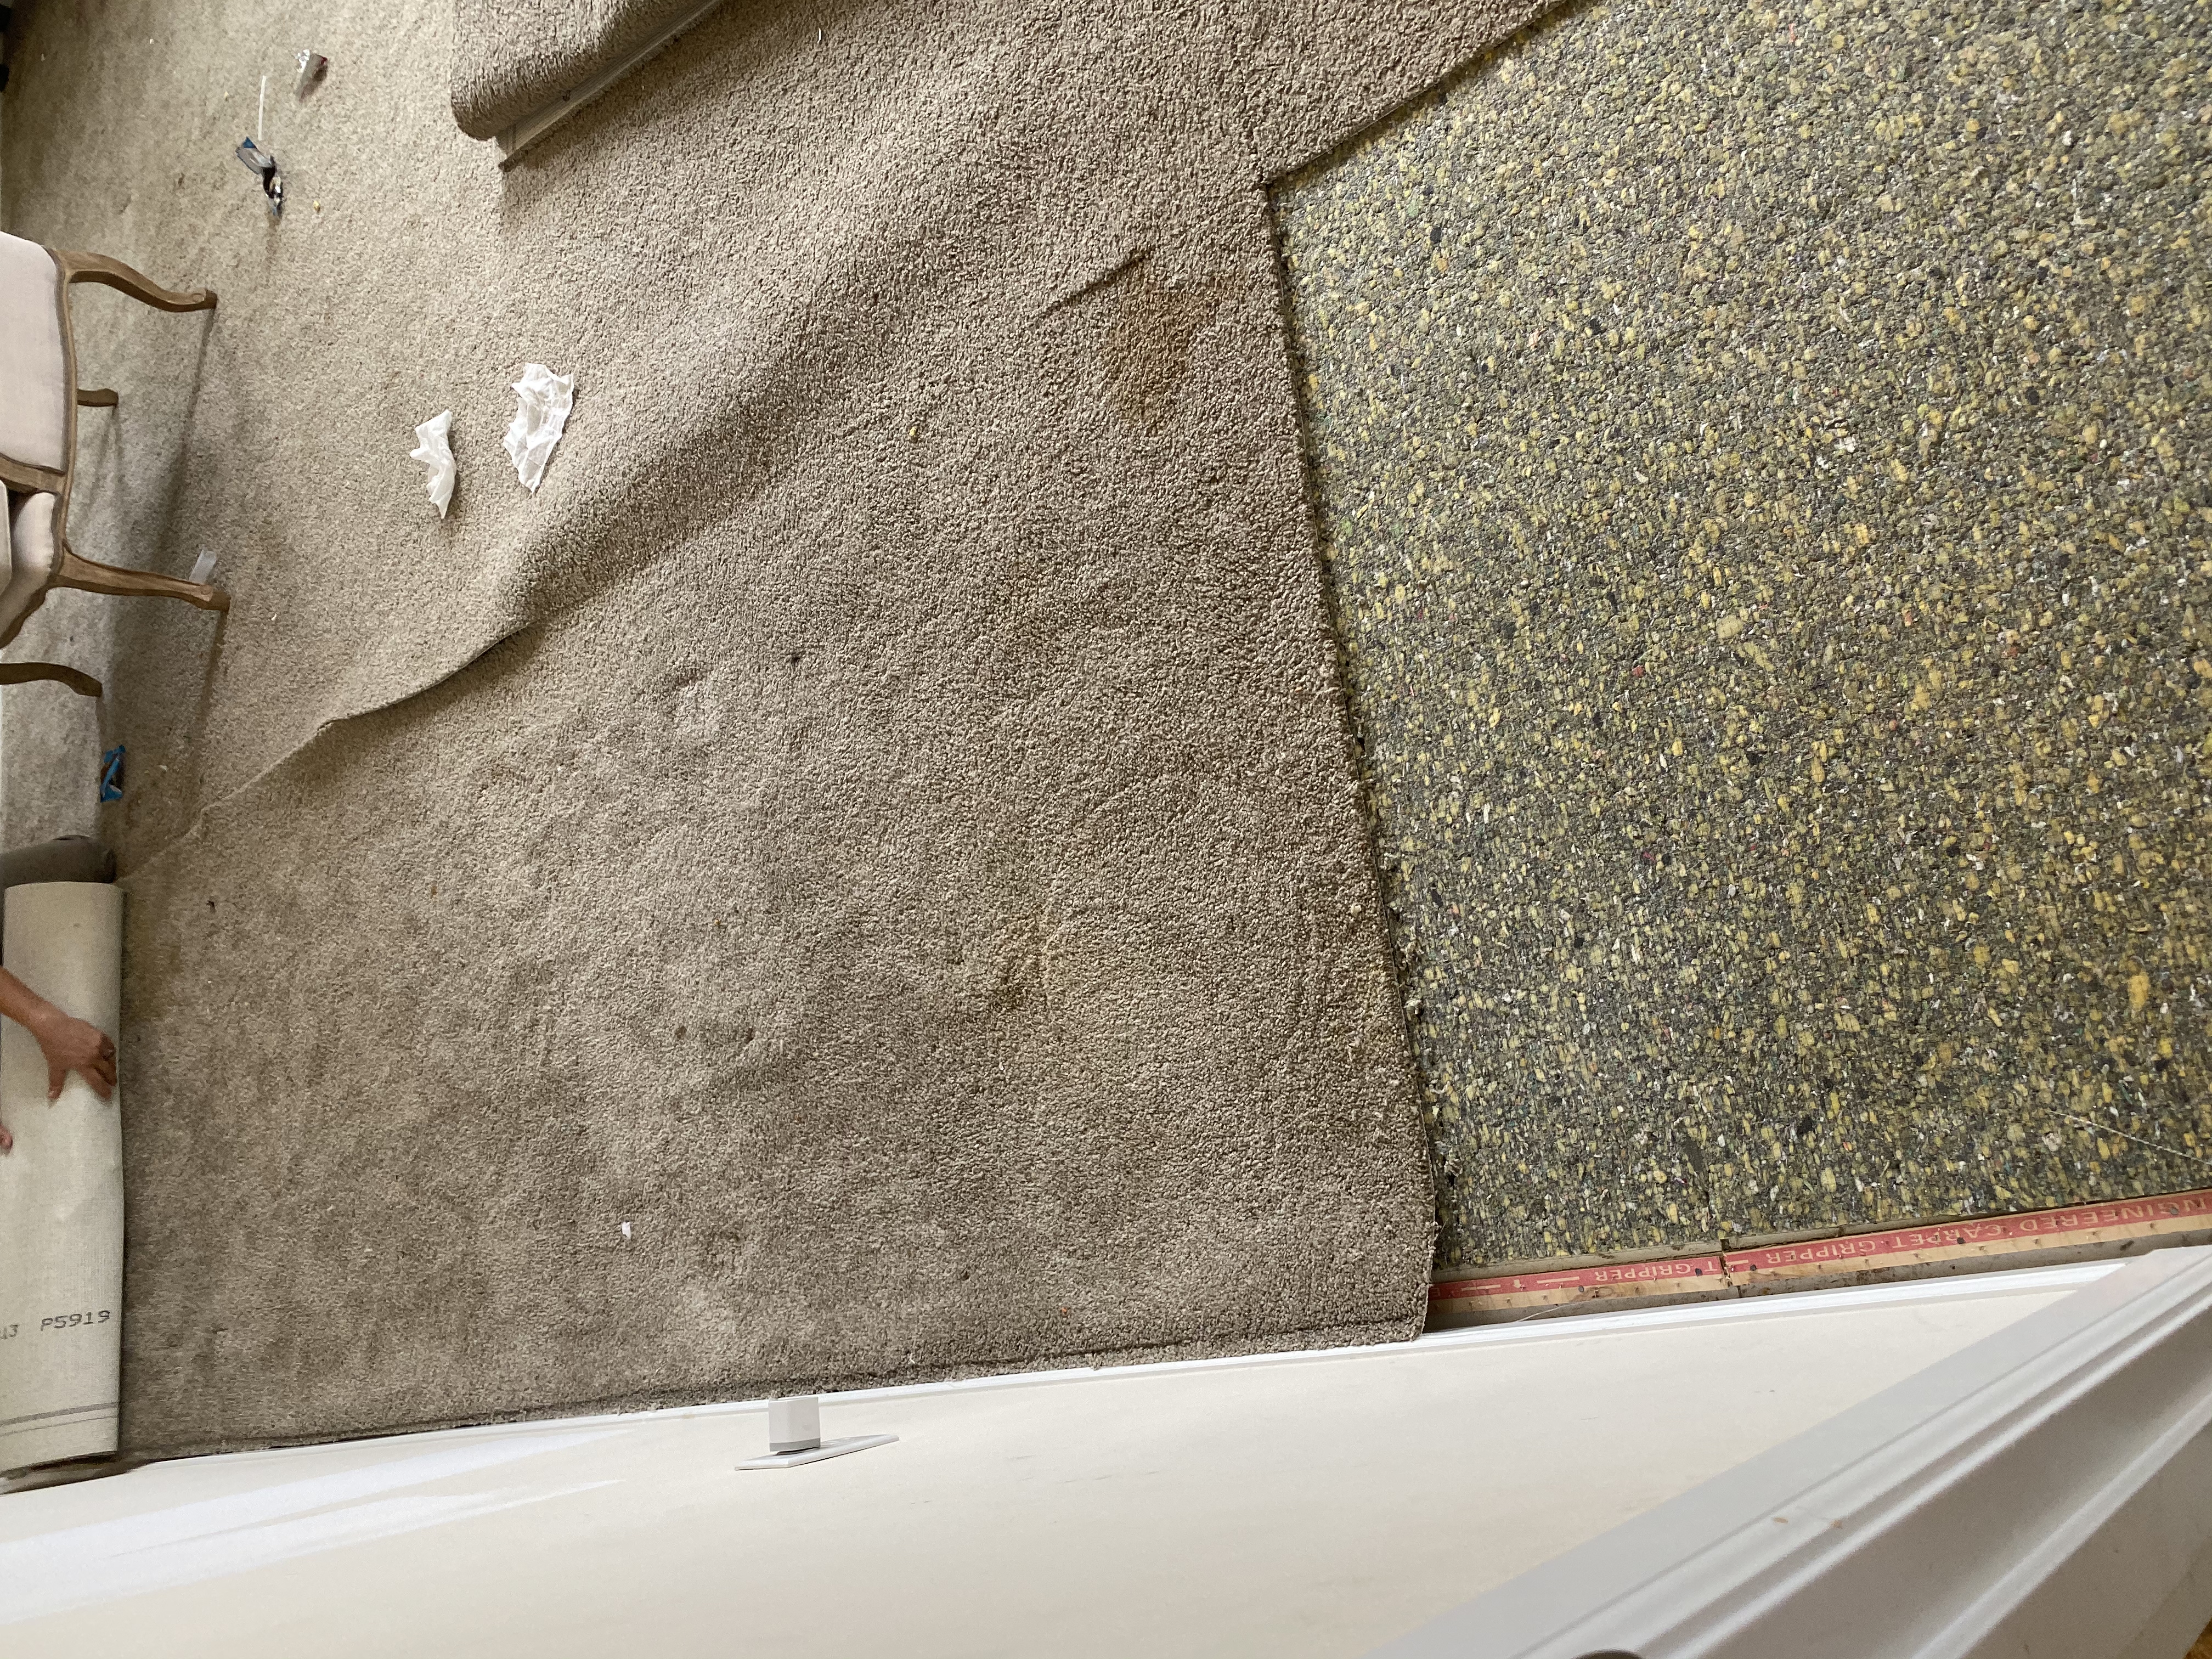
See how gross these carpets had gotten?! Between two dogs and four kids.. they desperately needed to go! To remove them, Mr. H cut the carpet layer in long strips and rolled it up. He did the same with the carpet pad. Then to remove the tack strip he used a crow bar.
After the old carpet was removed we took off the baseboards and I began painting away. I painted the entire room in Polar Bear by Behr – my favorite white! I used a flat finish and did the same for the ceiling as well.
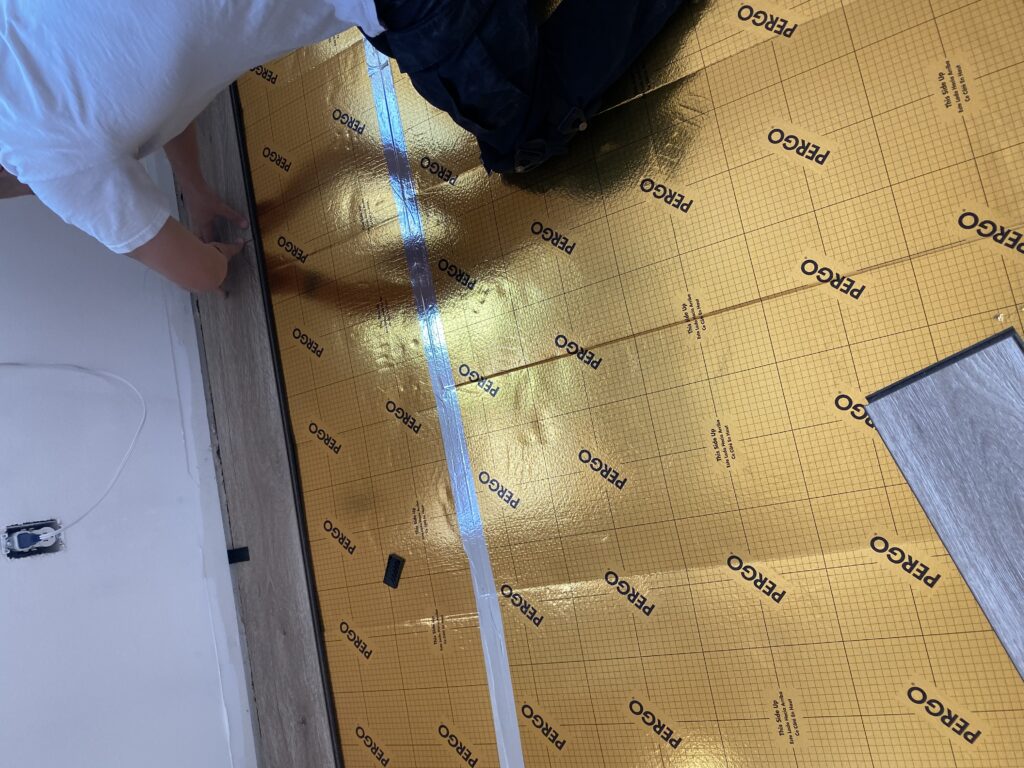
Once the paint was dry on the walls we were ready for floors! We first layed down the underlayment and made sure that everything was perfect smooth and in place. After that, it was time to lay down the floors.
The awesome thing about laminate floors is that they all click in to place! There is no gluing needed. They simply lock into each other and you’re good to go! The important thing here is to make sure that you get your first row done correctly and straight. Once that first row is set then the rest should lock in to each other pretty easily.
We got lucky with this room being mostly rectangular so there weren’t too many weird angles to cut around!
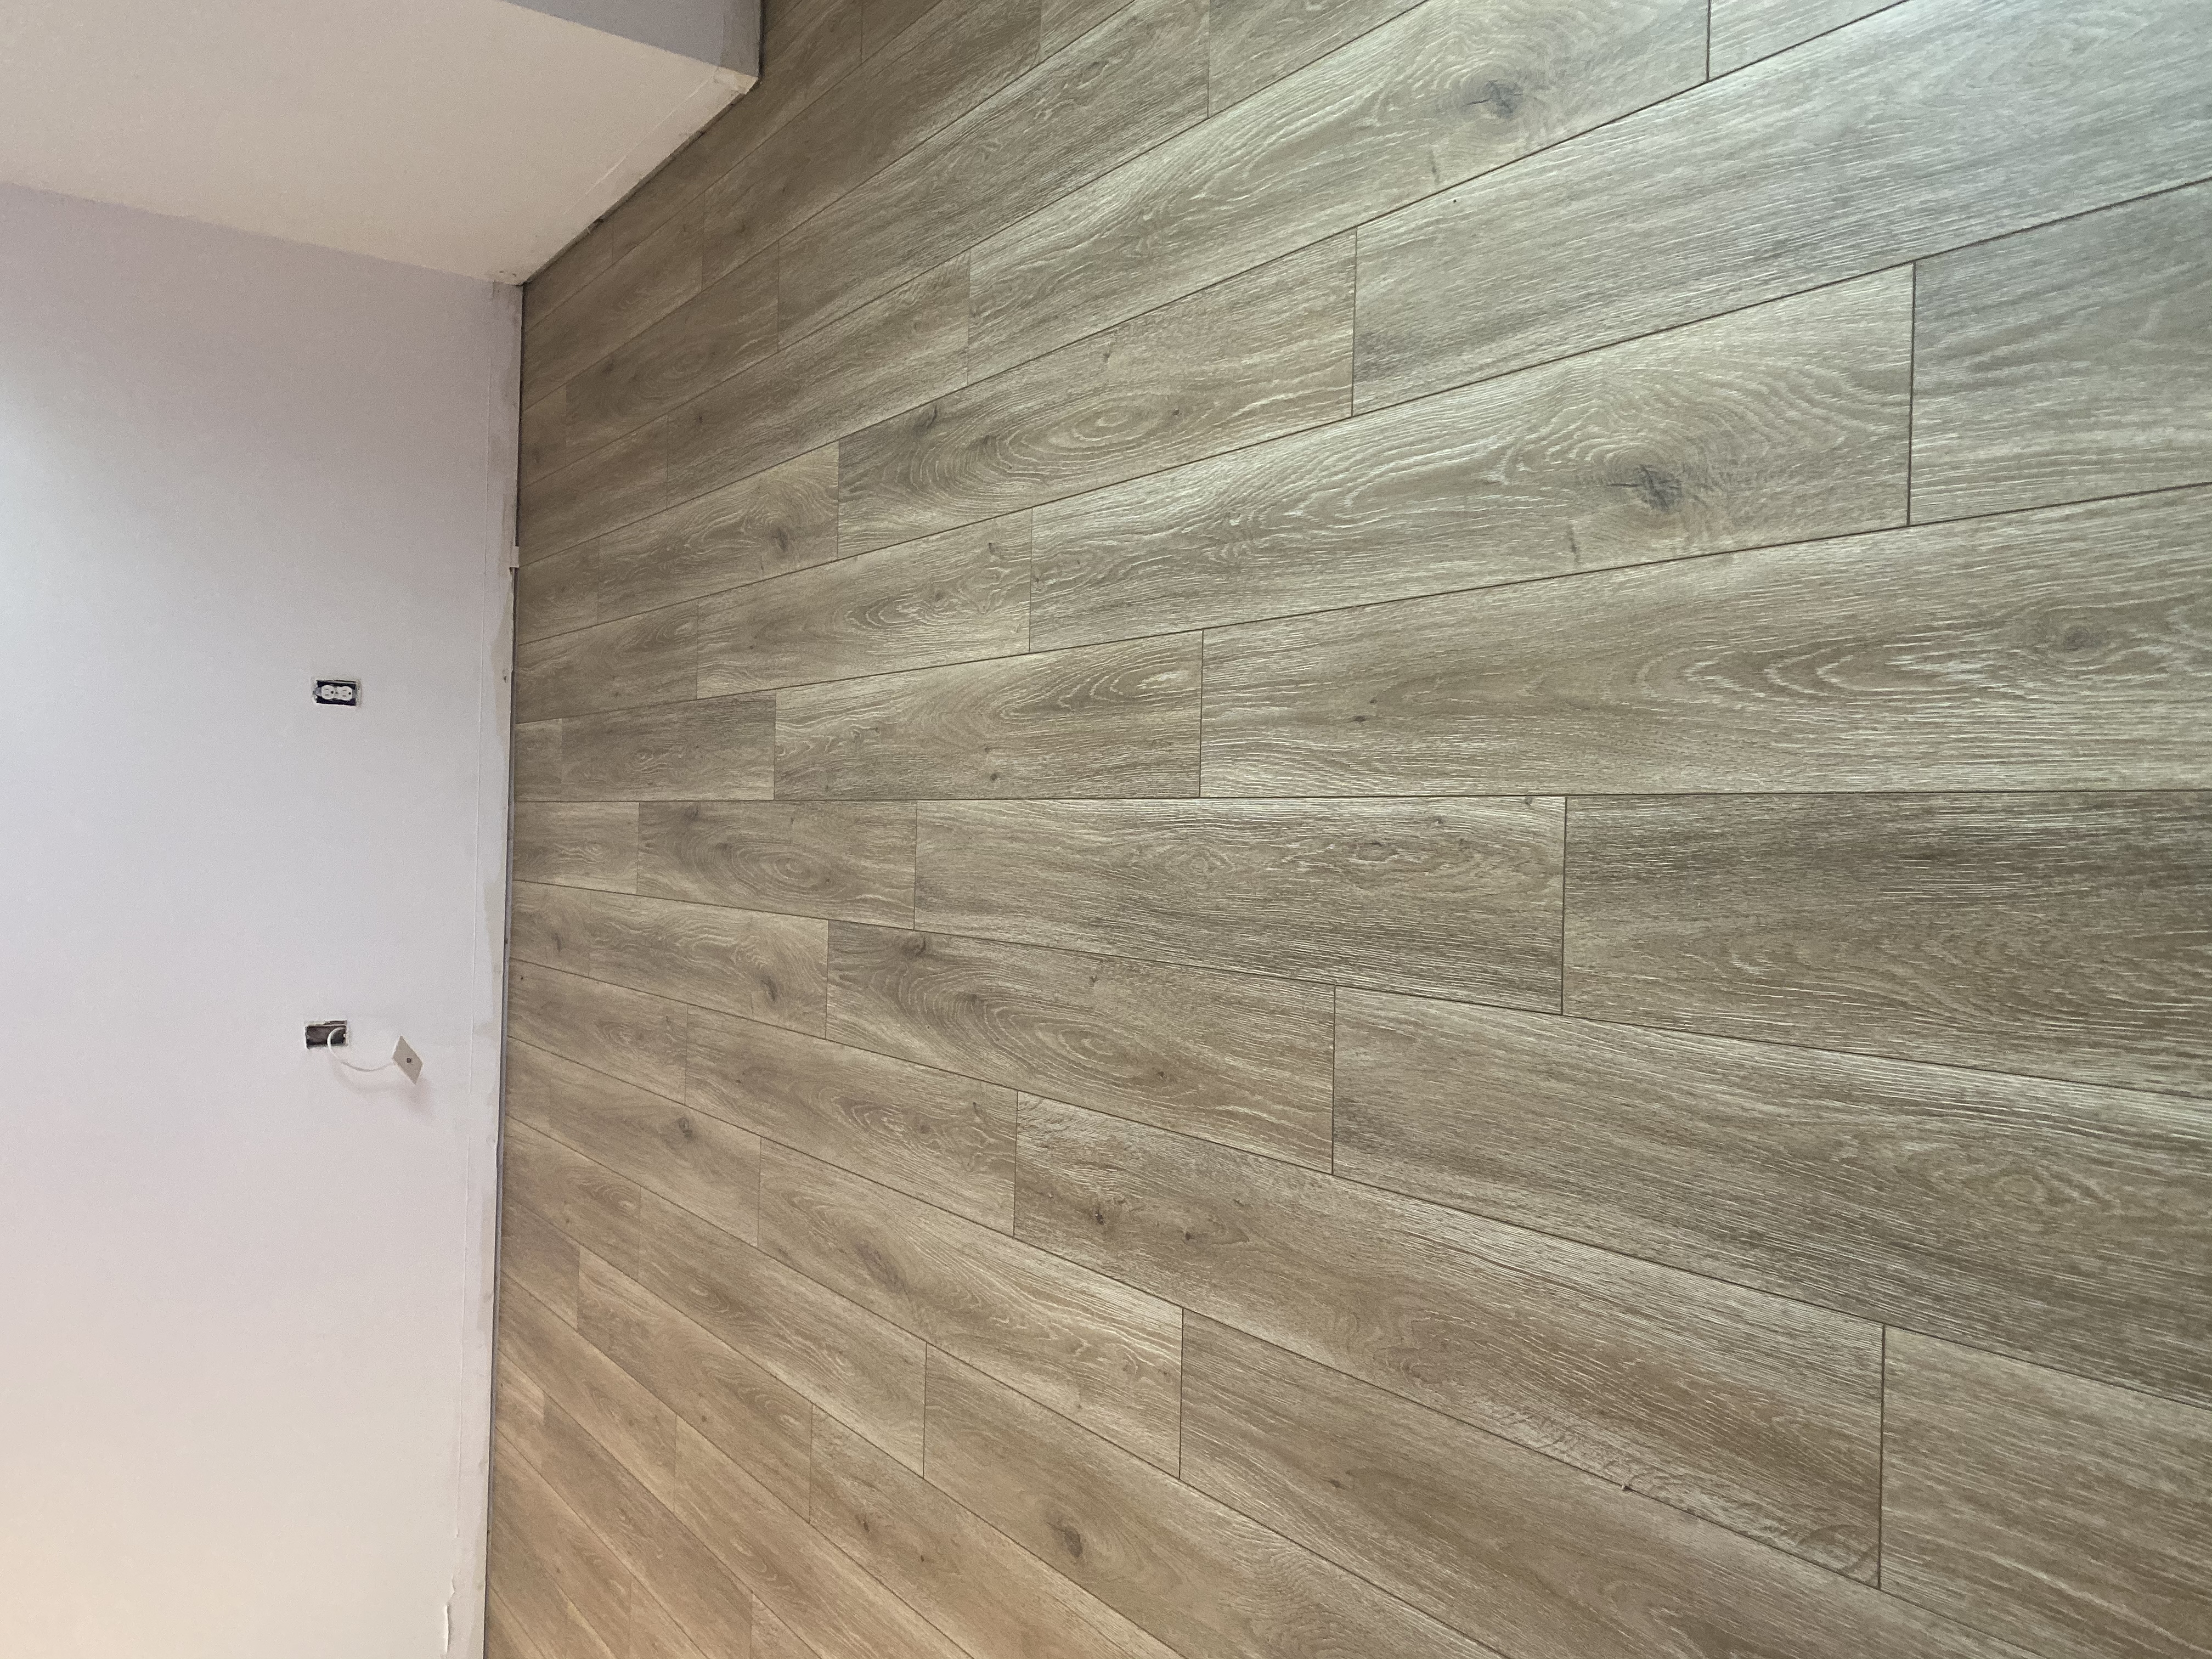
Mr. H was able to get these floors put in within a few hours.. and boy does it make a huge difference in this space! My favorite part is that once the floors are down, you don’t have to do anything else! Except maybe add some baseboards.. which we did the next day.
Overall, I am super impressed with the quality and selection that Floor & Decor has to offer. Even though I knew pretty much exactly what I wanted, I knew that if I needed some help that they would be able to assist me. They actually offer free design services so for those of you that might need a little extra help in figuring out what exactly you want, this is perfect for you! I highly recommend Floor & Decor and I can’t wait to do the rest of the upper level. It truly has transformed this room and it really feels like a brand new house!
